Create
Skills Reference Guide
We will go over the structure of the requests sent to your Skill from the Assistant Skills service and the responses expected to be returned from your Skill.
No new features are being added to Webex Assistant Skills and only skills added through May 2025 are directly supported by Cisco.
anchorWebex Assistant Skill Classifications
anchorOn the Webex Assistant skills service, there are two categories and corresponding status' for skills. The classification of a skill depends on the type of permissions and availability that it has been configured to have by the developer and the associated organization's administrators.
Private skill - a skill that has been created on the Assistant skills Developer Portal
- Disabled - Only the developer can invoke the skill. This is the default state of all private skills.
- Enabled - Available to all supported Webex Devices for the developer's organization.
Public skill - a Cisco-approved skill that is available to all Webex organizations through Control Hub.
- Disabled - No one in the organization has access to the skill
- Enabled - Available to all supported Webex Devices for the organization.
By default, whenever a skill is added through the Developer Portal, it will be classified as private with a disabled status. This allows the developer to test and improve the skill on personal-mode devices and on the Webex Assistant Web Client.
anchorWebex Assistant Skills Request and Response Payloads
anchorWe will go over the structure of the requests sent to your skill from the Assistant skills service and the responses expected to be returned by your skill.
anchorRequest Payload
anchorAfter decrypting the message received from the Assistant skills service, the request body will look as follows:
{
  "text": "hello",
  "context": {
    "orgId": "00000000-0000-0000-0000-000000000000",
    "userId": "00000000-1111-1111-1111-000000000000",
    "userType": null,
    "developerDeviceId": "00000000-2222-2222-2222-000000000000",
    "supportedDirectives": [
      "speak",
      "ui-hint",
      "clear-web-view",
      "asr-hint",
      "reply",
      "display-web-view",
      "listen",
      "sleep",
      "assistant-event"
    ]
  },
  "params": {
    "target_dialogue_state": null,
    "time_zone": "America/Los_Angeles",
    "timestamp": 1638833645,
    "language": "en",
    "locale": "en_US",
    "dynamic_resource": {},
    "allowed_intents": []
  },
  "frame": {},
  "challenge": "4f1cf832c0affcfb31afc841ca9fab2cd8243811131d37966ce2beba65d9a99d"
}
text: This is the Actor's query. This can sometimes be empty when the Actor asks to speak to the skill without a query.context: Contains relevant and potentially useful information about the user making the query.orgId: A UUID of the organization who the Actor is registered to.userId: A UUID of the Actor themself if available.userType: A string value of which type of account making the request if available.developerDeviceId: A UUID of the device used to make the query.supportedDirectives: A list of directives that are allowed from your skill. More directive details are available below.
params: Contains information specific to MindMeld powered applications but some values maybe useful for your skill. Additional information can be found in the MindMeld documentation.target_dialogue_state: The name of the dialogue handler that you want to reach in the next turn. One particular case,skill_intromust be supported. If thetarget_dialogue_stateisskill_intro, the skill should return an introductory message.time_zone: The name of IANA time zone.timestamp: A valid 13-digit unix timestamp representation.language: A valid ISO 639 two letter code for the language used to make the query.locale: A valid ISO 3166-2 locale code. Locale codes are represented as ISO 639-1 language code and ISO3166 alpha 2 country code separated by an underscore character.dynamic_resource: A dictionary containing data used to influence the language classifiers by adding resource data for the given turn (see dynamic gazetteer documentation).allowed_intents: A list of intents that you can set to force the language processor to choose from.
frame: A mutable object that contains information that is preserved during multiple interactions with the skill.challenge: A uniquely generated string that the Assistant skills service includes in each request and is used to verify that the skill was able to decrypt the payload. Thechallengeis then expected to be sent back in the response to the service. If thechallengeis missing or incorrect, the service will return an error to Assistant NLP.
anchorResponse Payload
anchorNext, we'll go over the expected structure of the response from your Skill. The response should include directives and a challenge, expressed in JSON.
directives: A list ofdirectiveobjects that will instruct the Assistant on what actions to perform and what views to display.challenge: A uniquely generated string originally sent from the Assistant skills service that must be returned in order to authenticate the response.
{
  "directives": [
    {
      "name": "reply",
      "type": "view",
      "payload": {
        "text": "This is the echo skill. Say something and I will echo it back."
      }
    },
    {
      "name": "speak",
      "type": "action",
      "payload": {
        "text": "This is the echo skill. Say something and I will echo it back."
      }
    },
    {
      "name": "listen",
      "type": "action",
      "payload": {}
    }
  ],
  "challenge": "520d1c22c9c33ed169997d62da855e60145320767f49a502270fee0e7fb59ff1"
}
anchorAssistant Directives
anchorA directive is single instruction, expressed in JSON, sent from the skill or Assistant NLP to a Webex Client. Each directive will perform some action or display a view to the Actor. The skill is expected to send a list of directives to the Webex Client in response to each query the Actor asks. The directives are completed in the order
that they are received.
Each individual directive JSON has at least two fields, name and type and an optional third, payload.
name: the identifier of the directive. Thenameis used by the Webex Client to determine which directive is being invoked.type: can be eithervieworaction. These values are defined in advanced by the directive.payload: the specification of what the directive will do. If needed, each directivepayloadhas an expected structure of key-value pairs.
This is an example of a reply directive.
{
  "name": "reply",
  "type": "view",
  "payload": {
    "text": "Hello, World!"
  }
}
When creating a set of directives from your skill, you must end the set with either a listen or sleep directive. This is the proper way to allow Webex Assistant to handle follow-up queries or end user interactions.
Assistant Directive Examples
The following are the supported directives that a skill can send to the Webex Client:
reply
Type: view
Display a text message. The payload contains a text field.
Sample Payload
{
  "text": "Hello, World!"
}
speak
Type: action
Read a given text aloud.
Sample Payload
{
  "text": "Hello, World!"
}
listen
Type: action
Listen for a user's response.
Note: payload is not required.
sleep
Type: action
Dismiss Webex Assistant and end the interaction with the skill. The payload contains an optional delay integer value of time that will be waited before dismissing the Assistant. The delay can be used to allow a view to be displayed for a duration before being removed from the screen.
Sample Payload
{
  "delay": 0
}
ui-hint
Type: view
Display text messages containing a suggested response for the user. This text will be styled slightly differently in
the user interface. The payload contains a text field containing an array of hints, and an optional prompt field denoting
the prompt to display.
Sample Payload
{
  "text": ["Hello", "What can you do?"],
  "prompt": "Try saying"
}
asr-hint
Type: action
Send a list of words to the Automatic Speech Recognition (ASR) service to help with speech-to-text recognition.
This is intended to help bootstrap the ASR service if commonly used words for your Skill are consistently being
mistranscribed. The payload contains a text field containing an array of strings.
Sample Payload
{
  "text": ["Hello", "Echo"]
}
display-web-view
Type: action
Displays the specified url in a web view on the Webex Client. The payload contains an optional title field, which is displayed on the web view and a required url field of the web page to be displayed. Displayed web views remain on screen until dismissed with a clear-web-view directive from your skill or by the user interacting with the Webex Client.
Note: Webex Device web engine must be enabled on each device in order to display the web view. More information can be found below.
Sample Payload
{
  "title": "Google",
  "url": "https://google.com"
}
clear-web-view
Type: action
Dismisses any web views displayed on Webex Client.
Note: payload is not required.
assistant-event
Type: action
A generic event sent to Webex Assistant and forwarded to the Webex Client. This directive can be used in combination with Webex Device Macros. A walk through on using macros can be found below. The payload contains a required name field and an optional inner payload field must be an object if included.
{
  "name": "test",
  "payload": { "foo": "bar" }
}
anchorAssistant Skills and Webex Devices Macros
anchorNext, we will give an example of using Assistant skills and Webex Device Macros together. Continuing from where you left off with either the Simple Skill or the MindMeld Skill described in the Webex Assistant Skills SDK Guide, we will add the necessary code changes to get your Skill to send an assistant-event directive and the necessary Device Macro file to handle the directive.
This example will emit the directive with a simple JSON payload containing the skill name and a text string. Remember that the directive payload can include whatever data you wish to send and does not need to be structured the same way as the example. The macro will then take the event and use the xAPI to pop an alert on the device using the skill name as the title and the text string as the message.
Assistant Skill Code
In the implemented skill code, navigate to the dialogue handlers and update them with the following code. Using the responses module from webex-assistant-sdk, add responses.AssistantEvent() to the directives array.
In the following code snippet, the on handler from the Simple Skill is updated to return an assistant-event directive.
@api.handle(pattern=r'.*\son\s?.*')
async def turn_on(current_state: DialogueState) -> DialogueState:
    new_state = current_state.copy()

    text = 'Ok, turning lights on.'

    # 1. Create the assistant-event payload
    assistant_event_payload = {
        'name': 'Switch',
        'payload': {
            'text': text,
        },
    }

    new_state.directives = [
        responses.Reply(text),
        responses.Speak(text),

        # 2. Create `assistant-event` directive and include payload
        responses.AssistantEvent(payload=assistant_event_payload),

        responses.Sleep(10),
    ]

    return new_state
After adding the few lines to your dialogue handler, the skill can now send a directive that can be handled by the following macro.
Webex Device Macro
Using device admin privileges, navigate to the Macros Editor on the desired endpoint. You can then add the following Javascript code to handle events in a new macro file. The macro listens for Assistant notification events and on those events, the macro will display an alert with the text property of the directive payload. You can find additional information on using your Webex Device here.
import xapi from 'xapi';

function alert(title, text = '', duration = 5) {
  xapi.Command.UserInterface.Message.Alert.Display({
    Title: title,
    Text: text,
    Duration: duration,
  });
}

xapi.Event.UserInterface.Assistant.Notification.on((event) => {
  const { Name, Payload } =  event;
  const jsonPayload = JSON.parse(Payload);
  alert(Name, jsonPayload.text);
});
Walk through
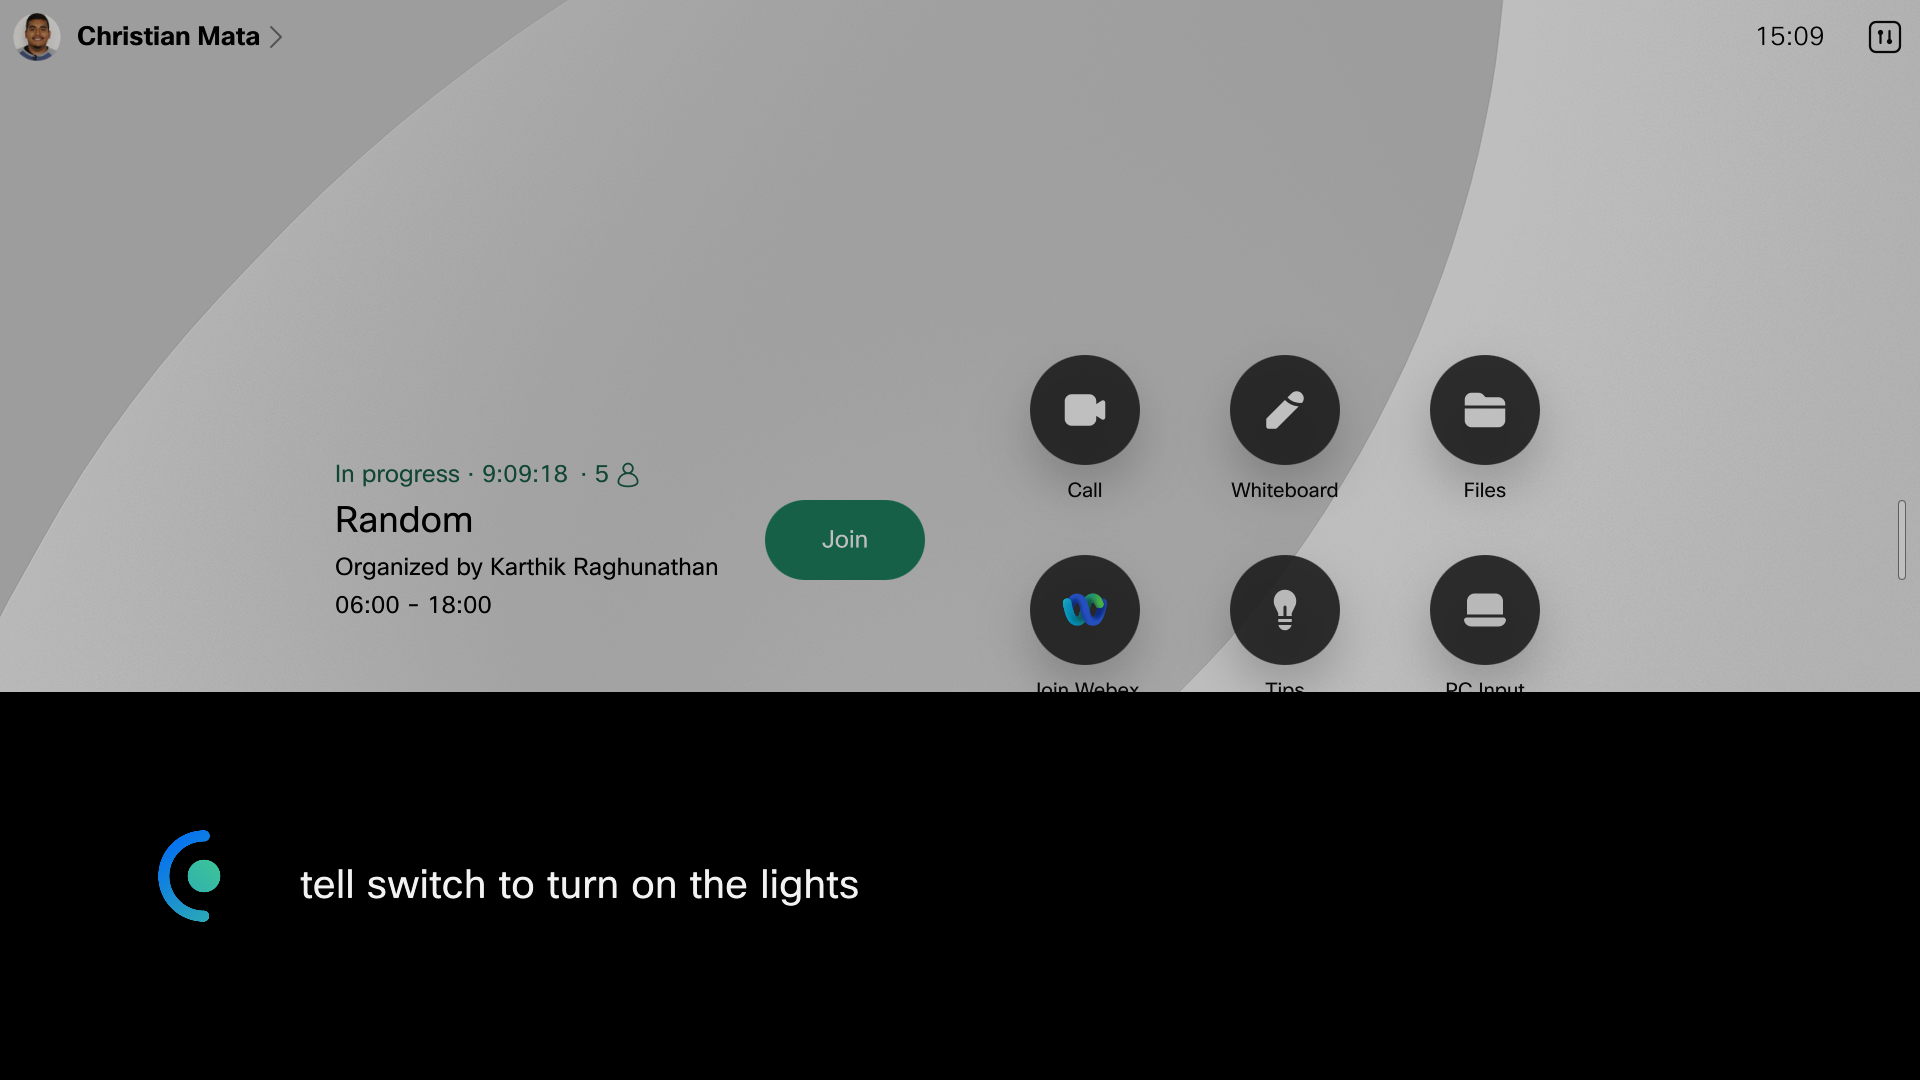
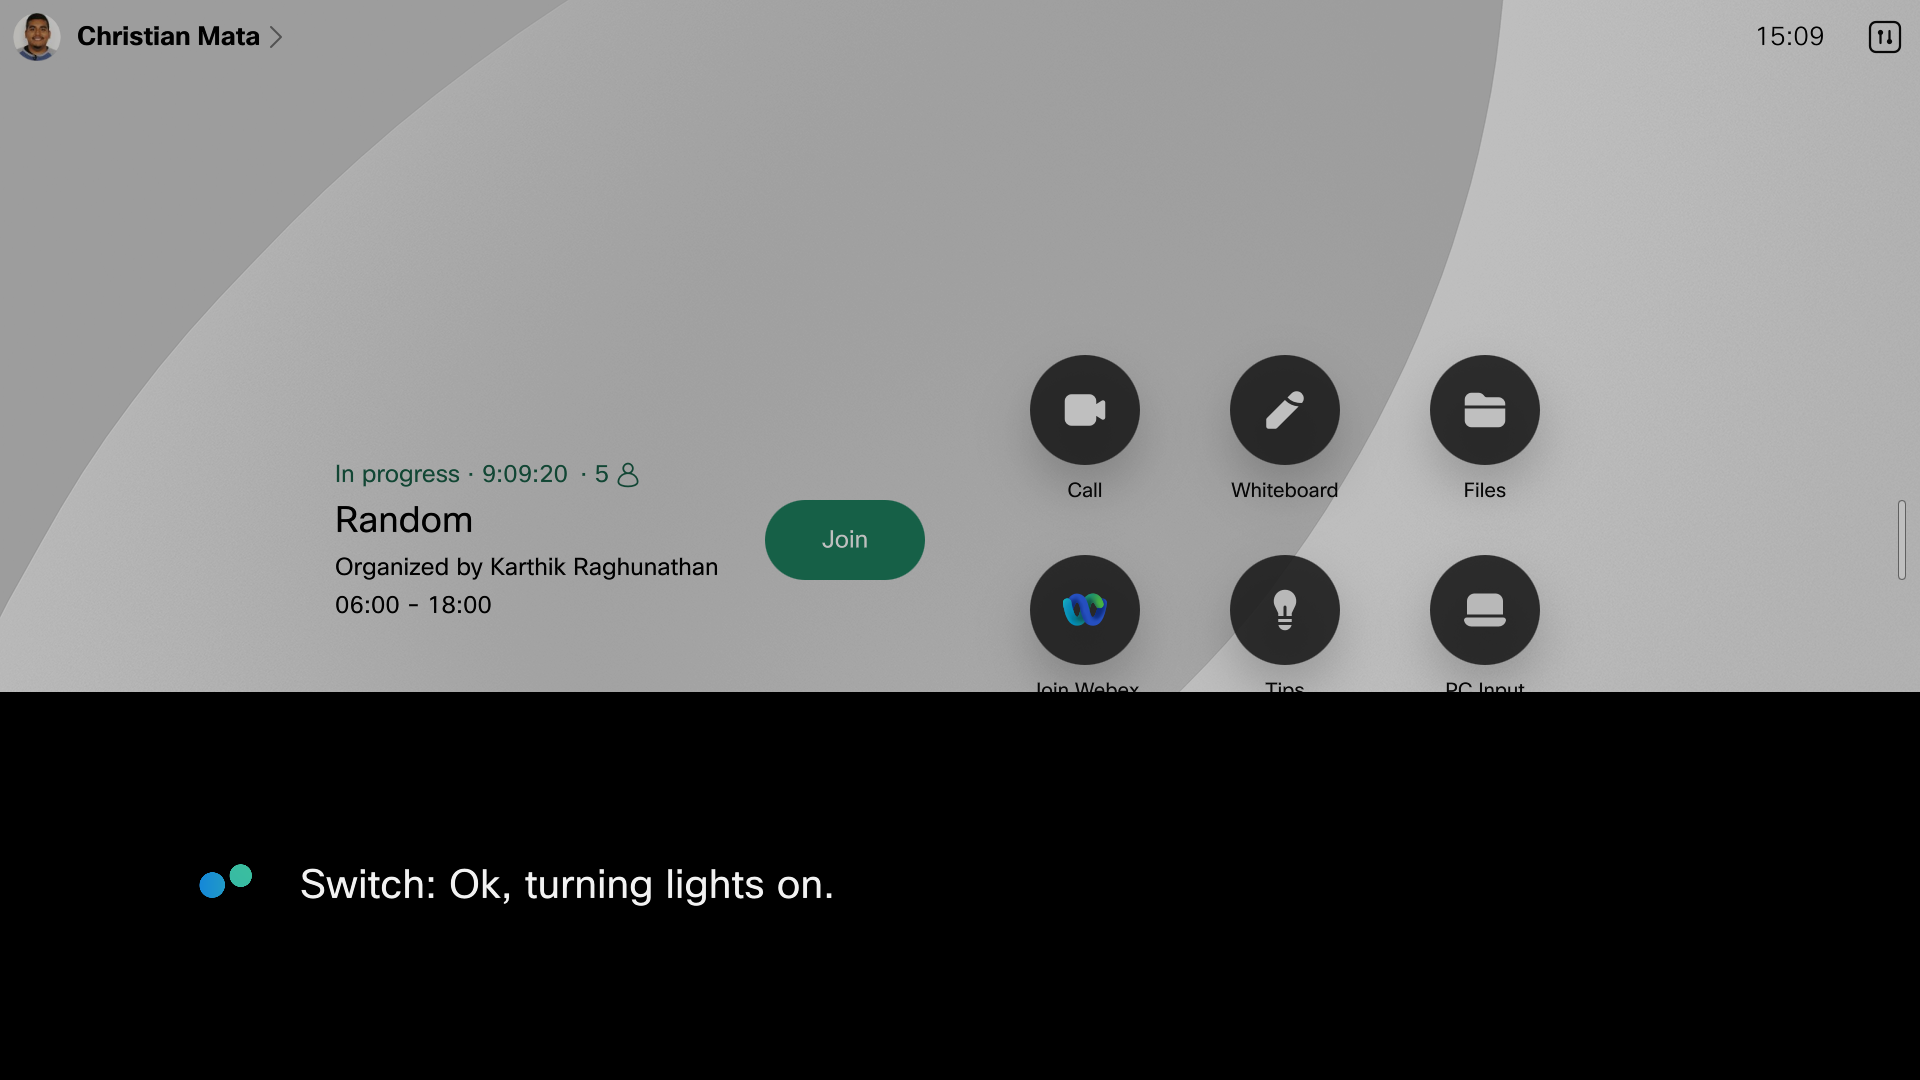
Once the skill is updated and the macro is uploaded, you can invoke the skill. Continuing with the Switch skill example, since the on handler was updated with the new directive, wake Webex Assistant and say an on query.
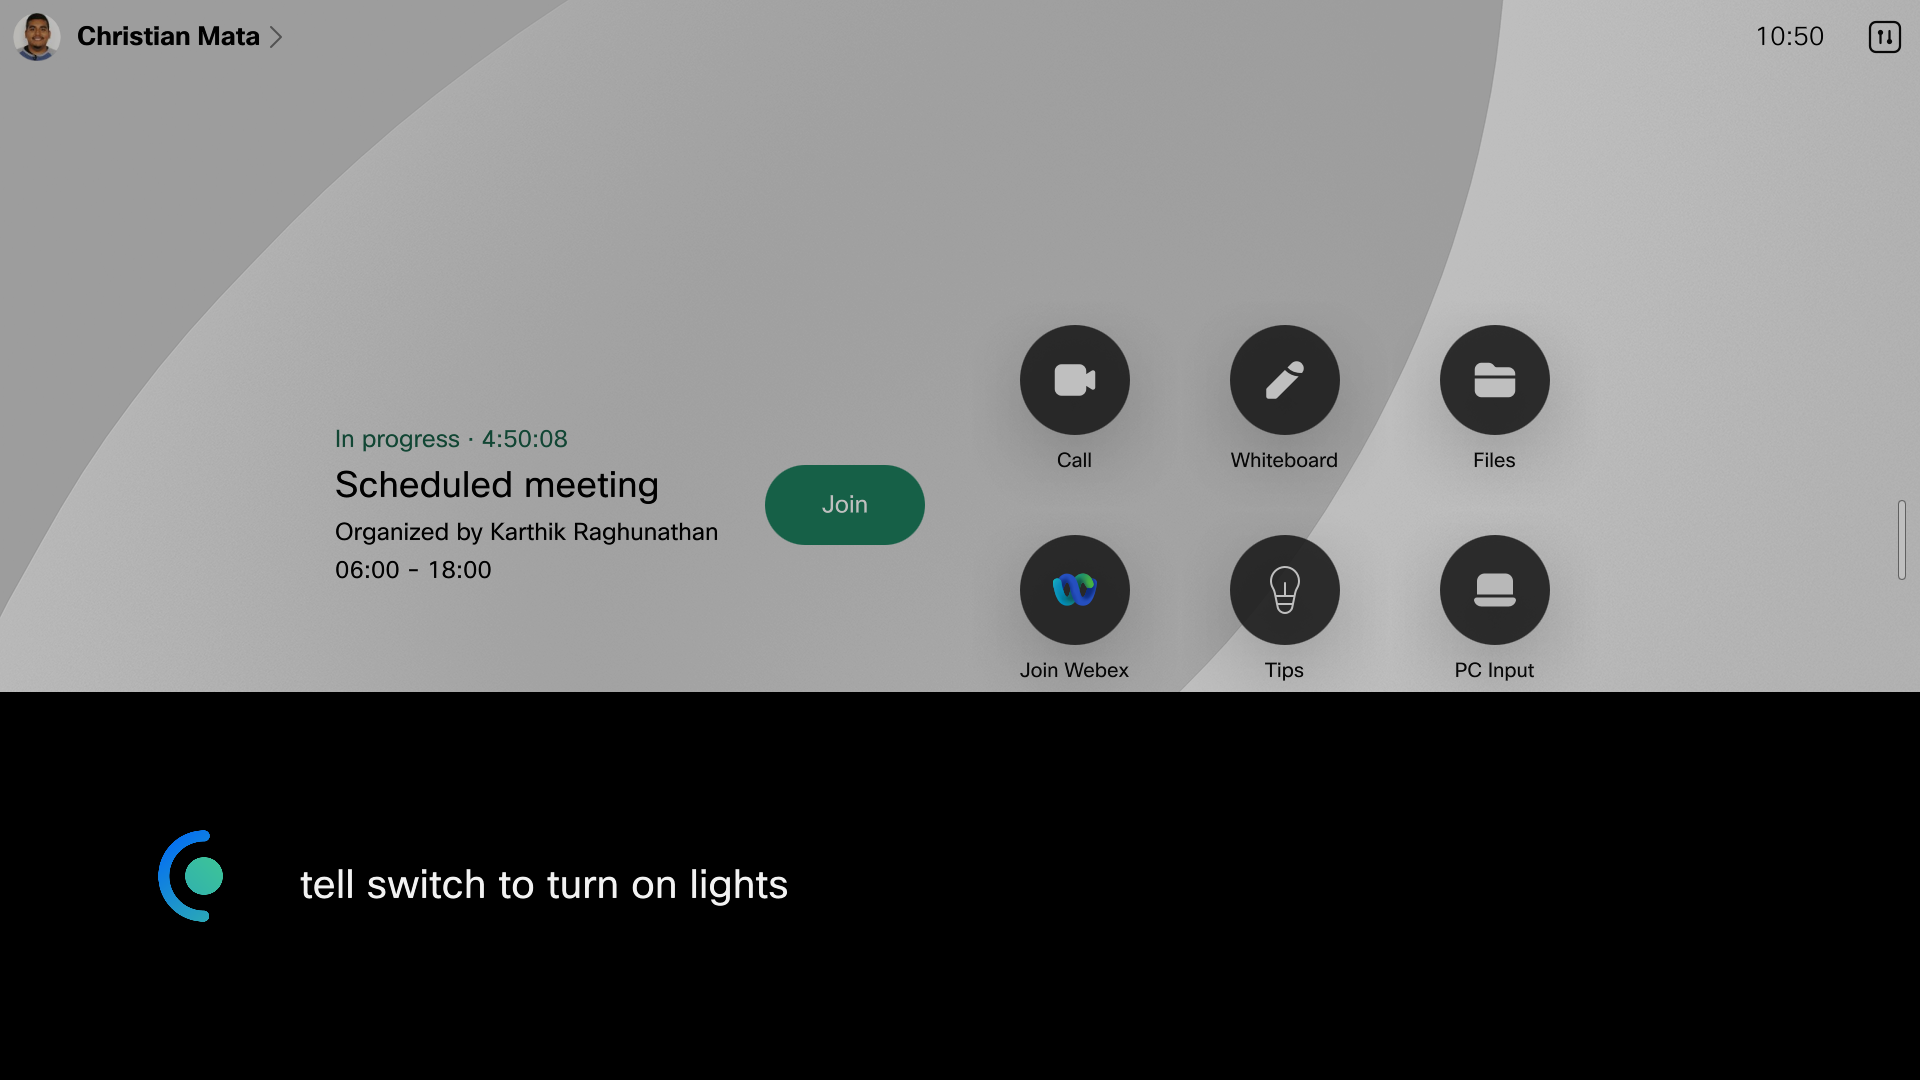
The skill will then return the expected reply and speak directives and the Assistant will execute those.
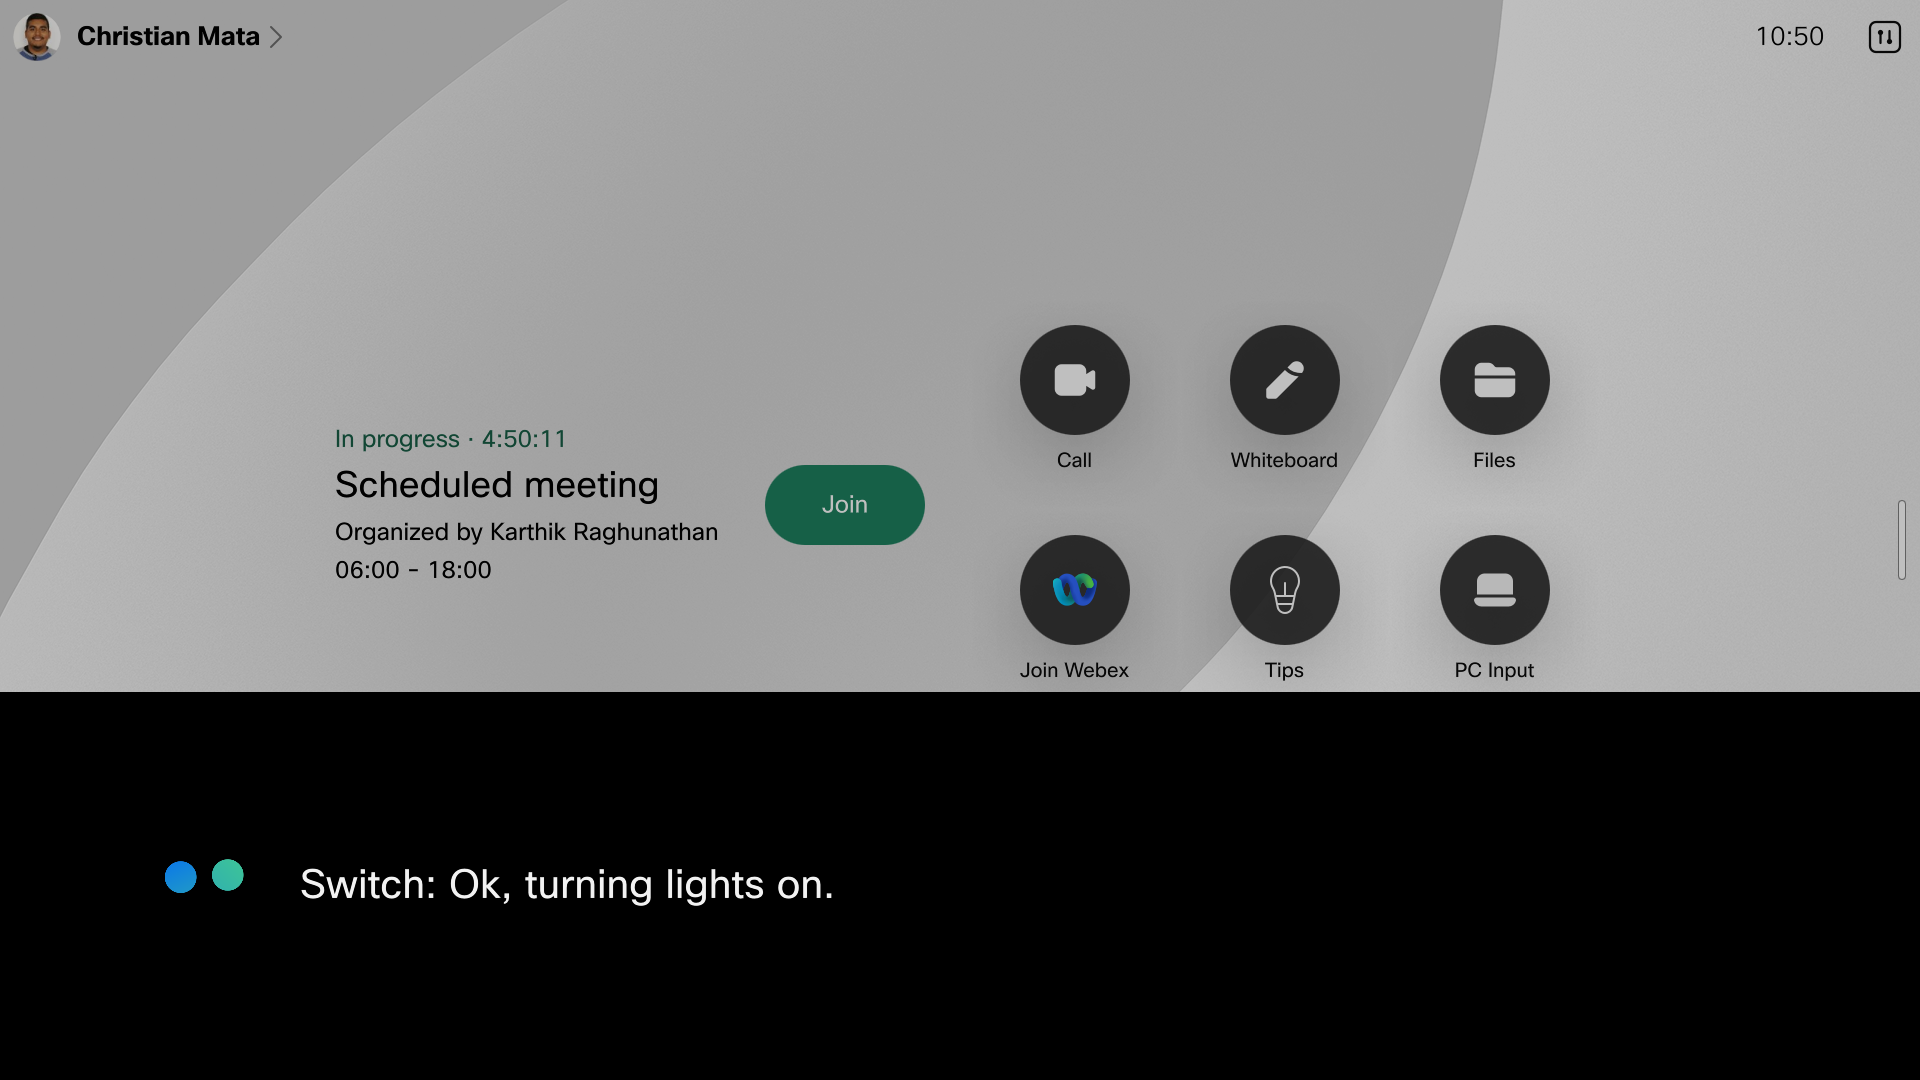
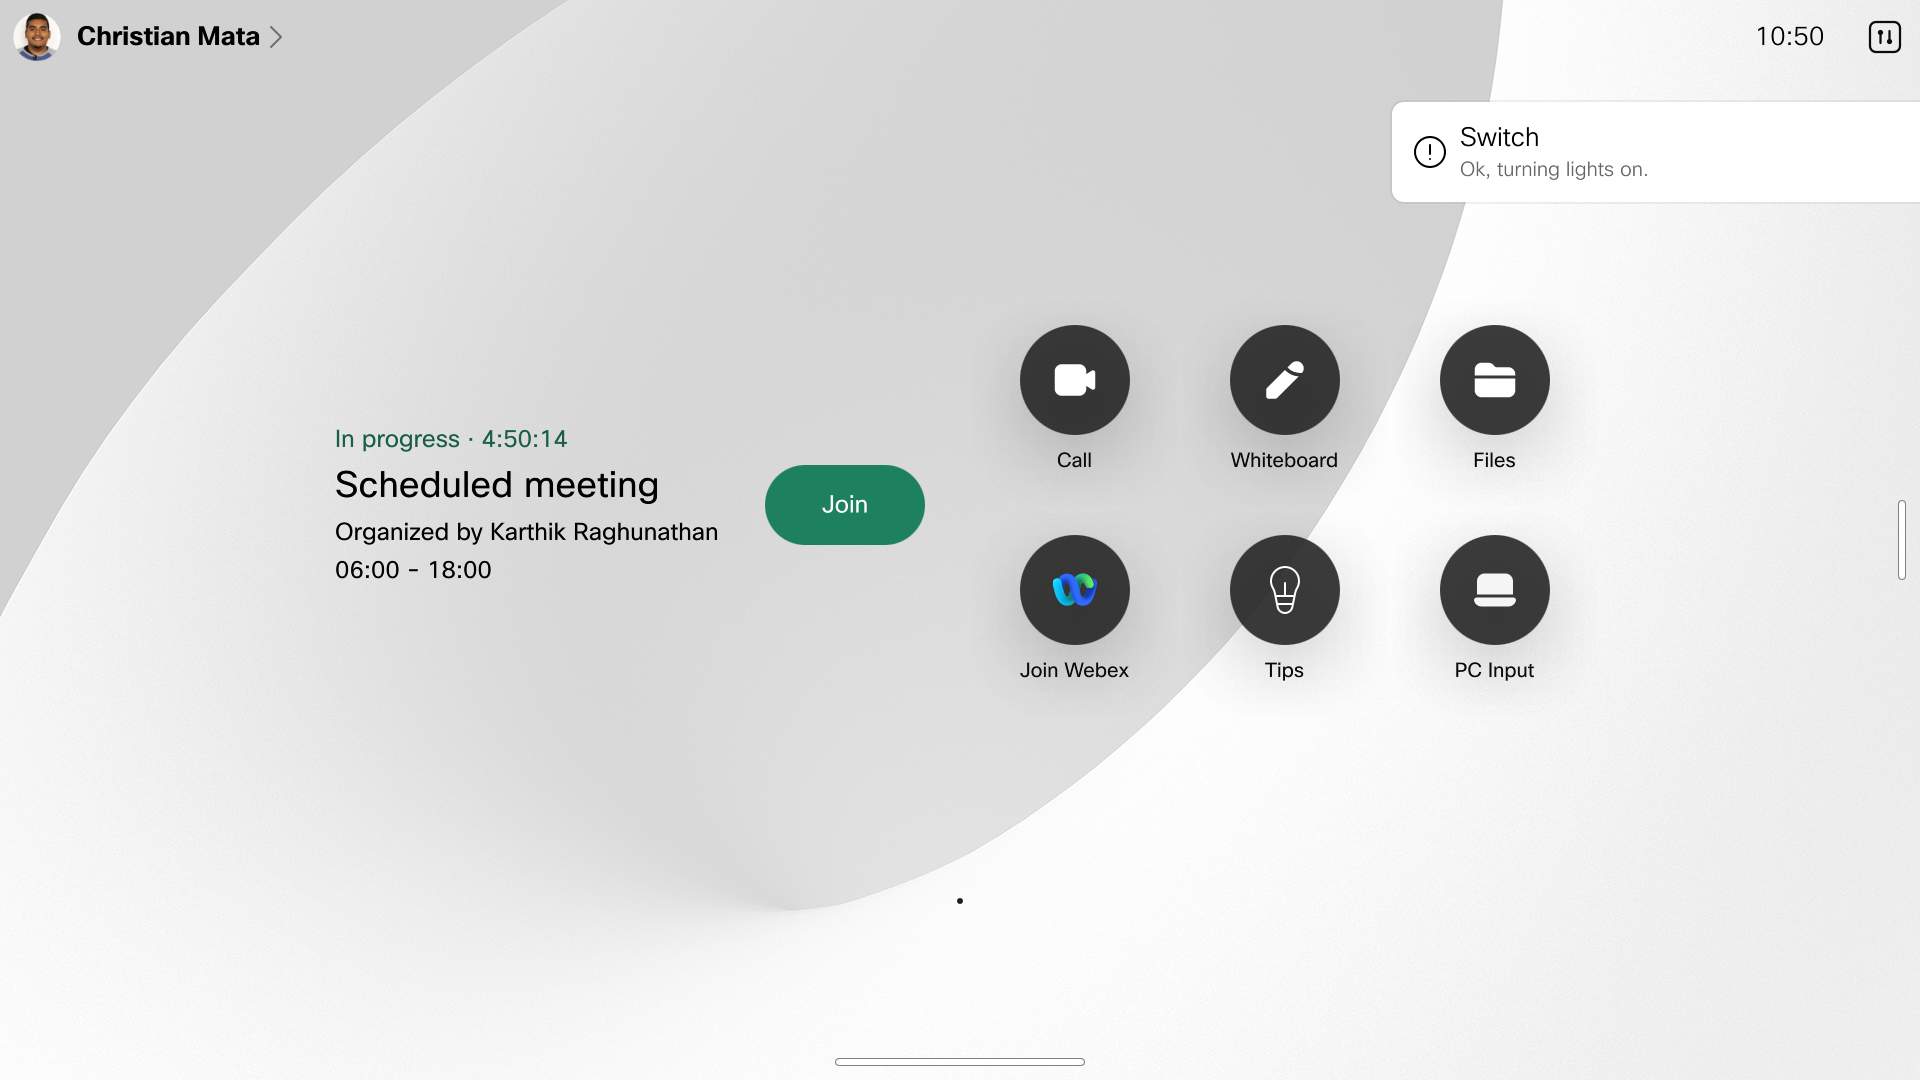
Finally, the Assistant will pass on the assistant-event directive to the device, which will use the macro
to handle the event. You will then see the alert displayed on your device.
Macros are a very powerful tool that will allow developers to extend the functionality of the Webex Assistant even more than before.
anchorAssistant Skills and Web Views
anchorIn this next section, we will provide more information about the display-web-view and clear-web-view directives, as well as an example of how to use them. These directives can create a richer experience for your end-users. The directives use the existing web engine implemented by the Webex Devices, which is based on a standard Chromium browser and supports many features. An extensive list of all the supported features and limitations can be found here. For more information on how to create web pages that work well with the Webex Device web engine, follow the RoomOS WebEngine Developer Guide found here.
In order to use the directive on Webex Devices, the Web Engine must be configured to be allowed by an admin on each device. For more information on this, see this article here.
Web Views on Webex Devices
The display-web-view directive allows skills developers to open a web view by providing a specific URL to the webpage and the
clear-web-view directive dismisses any web view present on the screen. When using the web views in your skill experience, you
should keep in mind that skills can be used on non-touch enabled Webex devices. For these devices, the web view will have to dismissed
by the clear-web-view directive otherwise the page will remain displayed on the screen with the user unable to remove it via touch.
Two ways to avoid this issue are to include the clear-web-view directive in any subsequent interactions after a display-web-view
has been sent or to create a specific query handler that will return a clear-web-view whenever a user attempts to dismiss the view.
Web View Example
In this example, we will follow similar pattern to the Webex Device Macros example above. Again continuing from where you left off with either the Simple Skill or the MindMeld Skill described in the Webex Skills SDK Guide, we will add the necessary code changes to get your Skill to send an display-web-view directive.
Assistant Skill Code
In the implemented skill code, navigate to the dialogue handlers and update them with the following code. Using the responses module from webex-assistant-sdk, add responses.DisplayWebView() to the directives array along with the two parameters, url and title. Similarly, add responses.ClearWebView() to the other dialogue handler.
In the following code snippet, the on and off handlers from the Simple Skill, Switch, are updated to use the display-web-view and clear-web-view, respectively.
@api.handle(pattern=r'.*\son\s?.*')
async def turn_on(current_state: DialogueState) -> DialogueState:
    new_state = current_state.copy()

    text = 'Ok, turning lights on.'

    new_state.directives = [
        responses.Reply(text),
        responses.Speak(text),

        # 1. Create `display-web-view` directive and include payload
        responses.DisplayWebView("https://cisco.com"),

        responses.Sleep(10),
    ]

    return new_state

@api.handle(pattern=r'.*\soff\s?.*')
async def turn_off(current_state: DialogueState) -> DialogueState:
    new_state = current_state.copy()

    text = 'Ok, turning lights off.'

    new_state.directives = [
        responses.Reply(text),
        responses.Speak(text),

        # 2. Create `clear-web-view` directive
        responses.ClearWebView(),

        responses.Sleep(10),
    ]

    return new_state
After adding the few lines to your dialogue handlers, the skill can now open a web view to Cisco's main landing page and clear it later.
Walk through
Once the skill is updated, you can go through and invoke the skill. Continuing with the Switch skill example, since the on handler was updated with the display-web-view directive, wake Webex Assistant and say an on query.
The skill will then return the expected reply and speak directives and the Assistant will execute those.
Then, the Assistant will handle the display-web-view directive and display a web view with Cisco's homepage.

Next, you can now wake Webex Assistant and say an off query to dismiss the web view from the Webex Device.

Again, the Assistant will return the expected reply and speak directives.

Finally, the Assistant will handle the clear-web-view directive and dismiss the web page.