Getting Started
Skills Developer Portal
The Assistant Skills Developer Portal is a tool for skills developers to create and manage their skills' association to the Assistant skills service.
No new features are being added to Webex Assistant Skills and only skills added through May 2025 are directly supported by Cisco.
anchorWhat is the Assistant Skills Developer Portal
anchorThe Assistant Skills Developer Portal is a tool for skills developers to create and manage their skill's association to the Assistant skills service. The Developer Portal is located at https://skills-developer.intelligence.webex.com.
This site is not where organization administrators manage skills enablement for their organization. Managing organization-level access to skills can be done in Control Hub by a full-administrator. Once a skill is created in this portal, the content will be viewable in Control Hub. By default, all skills are disabled.
We'll go through the following topics in this guide, which will explain how to use this tool:
anchorOverview
anchorWhen you first go into the Developer Portal, you'll land at the Overview page. This page offers a high level overview of what skills are and what they can do. Reference the guides on developer.webex.com for the most up-to-date content.
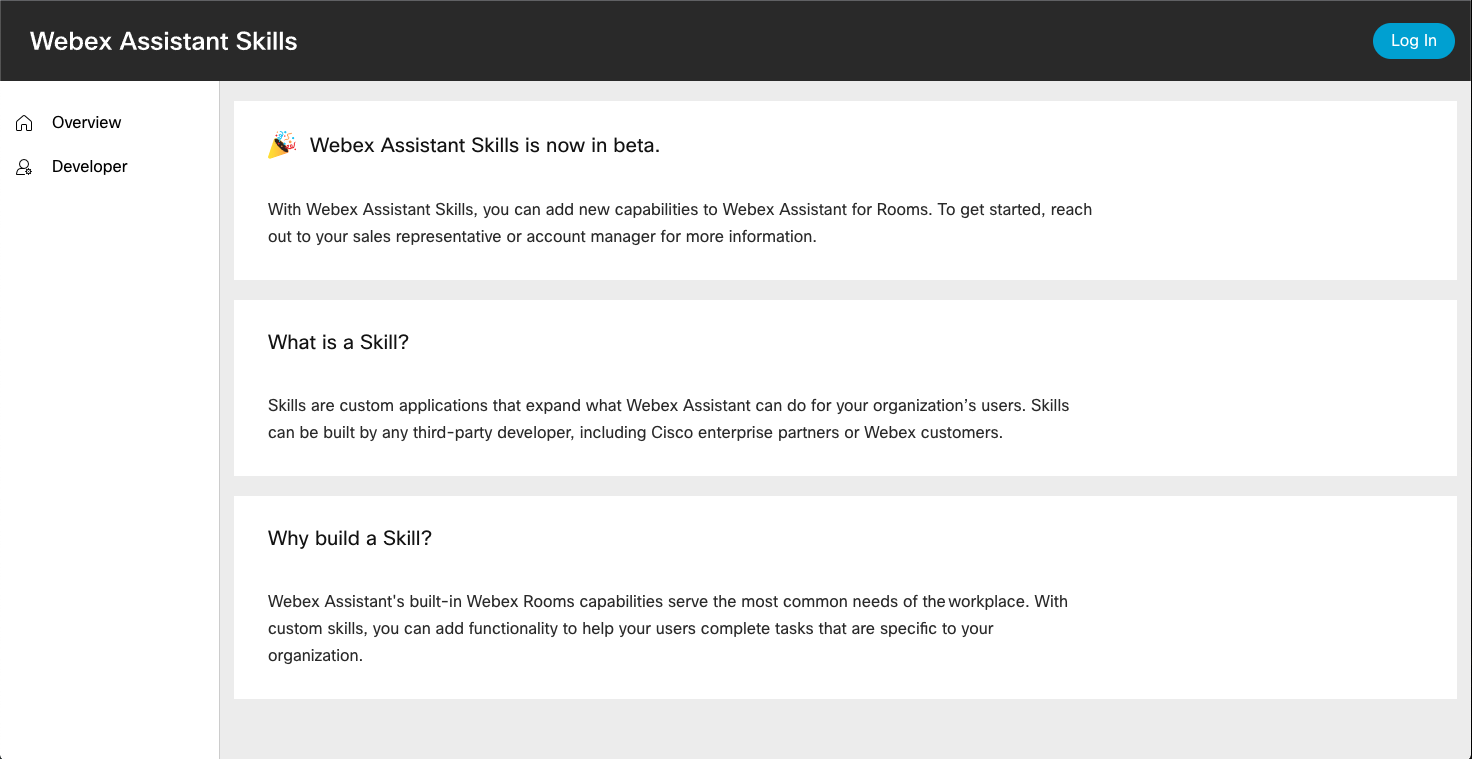
anchorLog In
anchorOnce you enter the portal, the first step is to log in. For that, you can use the Log In button in the top-right corner:

In the next few sections, we'll be working on the Developer tab. Once logged in, go into the Developer section.
anchorCreating a Skill
anchorTo create a skill, click Create New Skill:
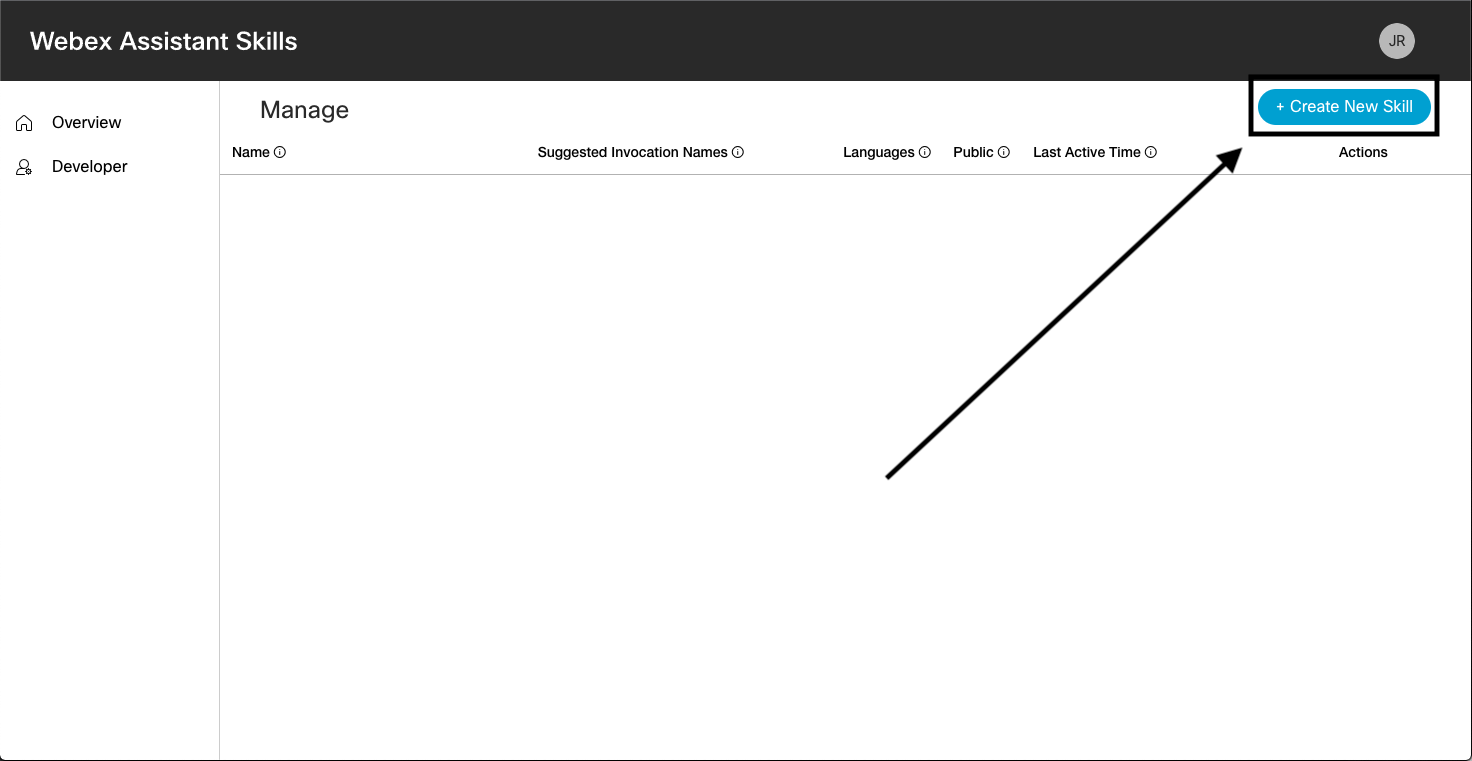
You will now be presented with a form that you need to complete in order to create the skill:
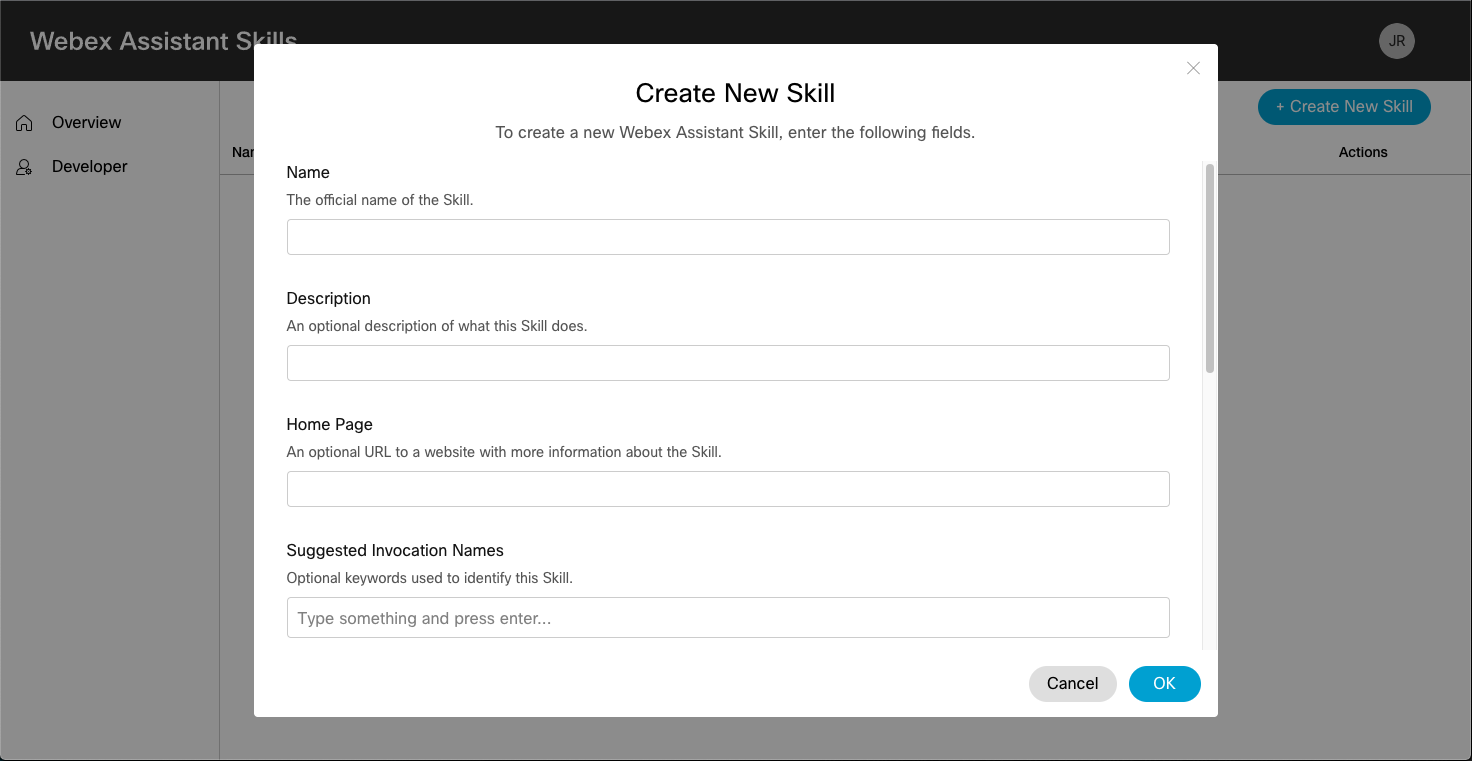
The details you need to fill in are the following:
- Name: The name of your skill.
- Description: An optional description of what this skill does.
- Home Page: An optional URL to a website with more information about the skill.
- Invocation Names: Keywords that end-users will use to invoke the skill on a Webex Device.
- Languages: The list of languages that your skill can support.
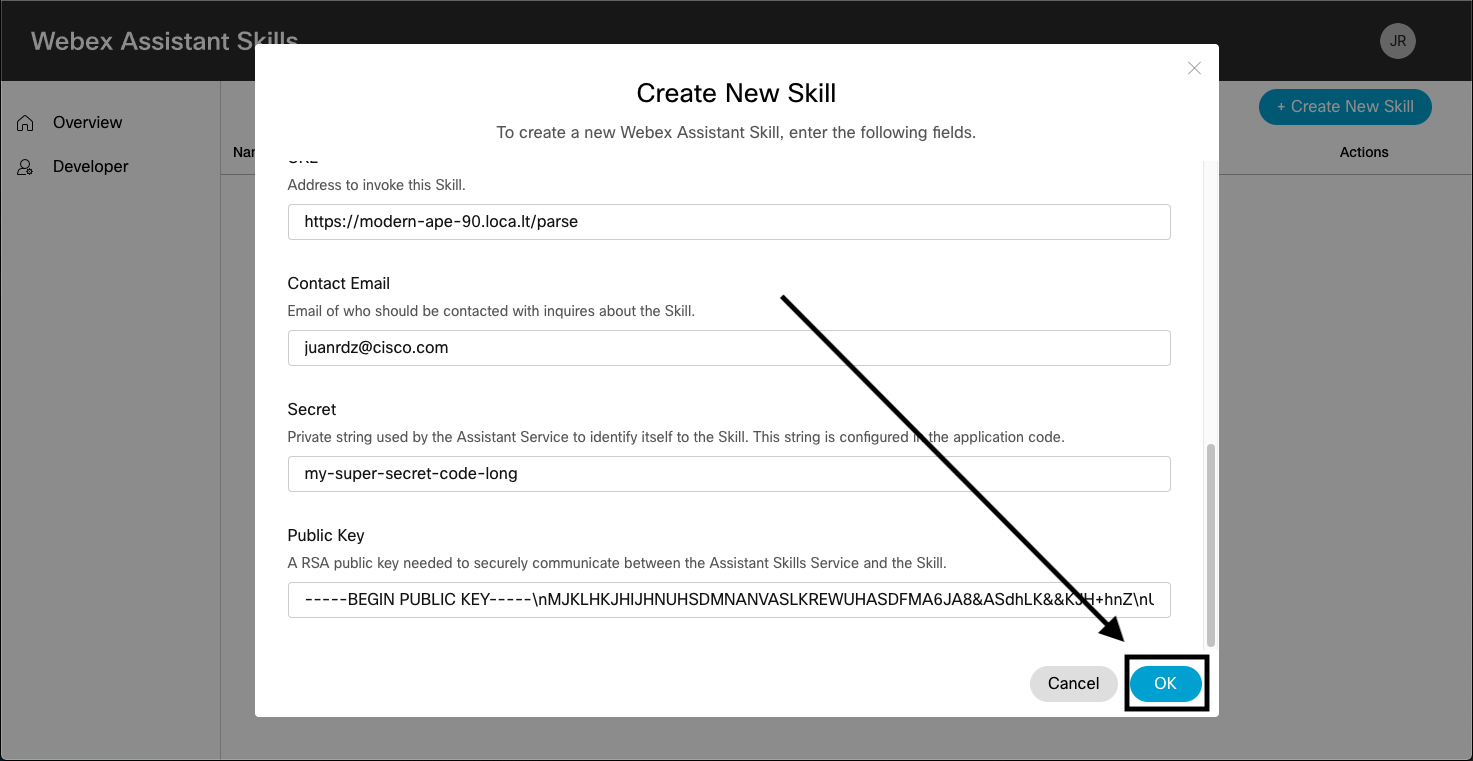
- URL: URL endpoint to your skill code.
- Contact Email: Email of who should be contacted with inquires about the skill.
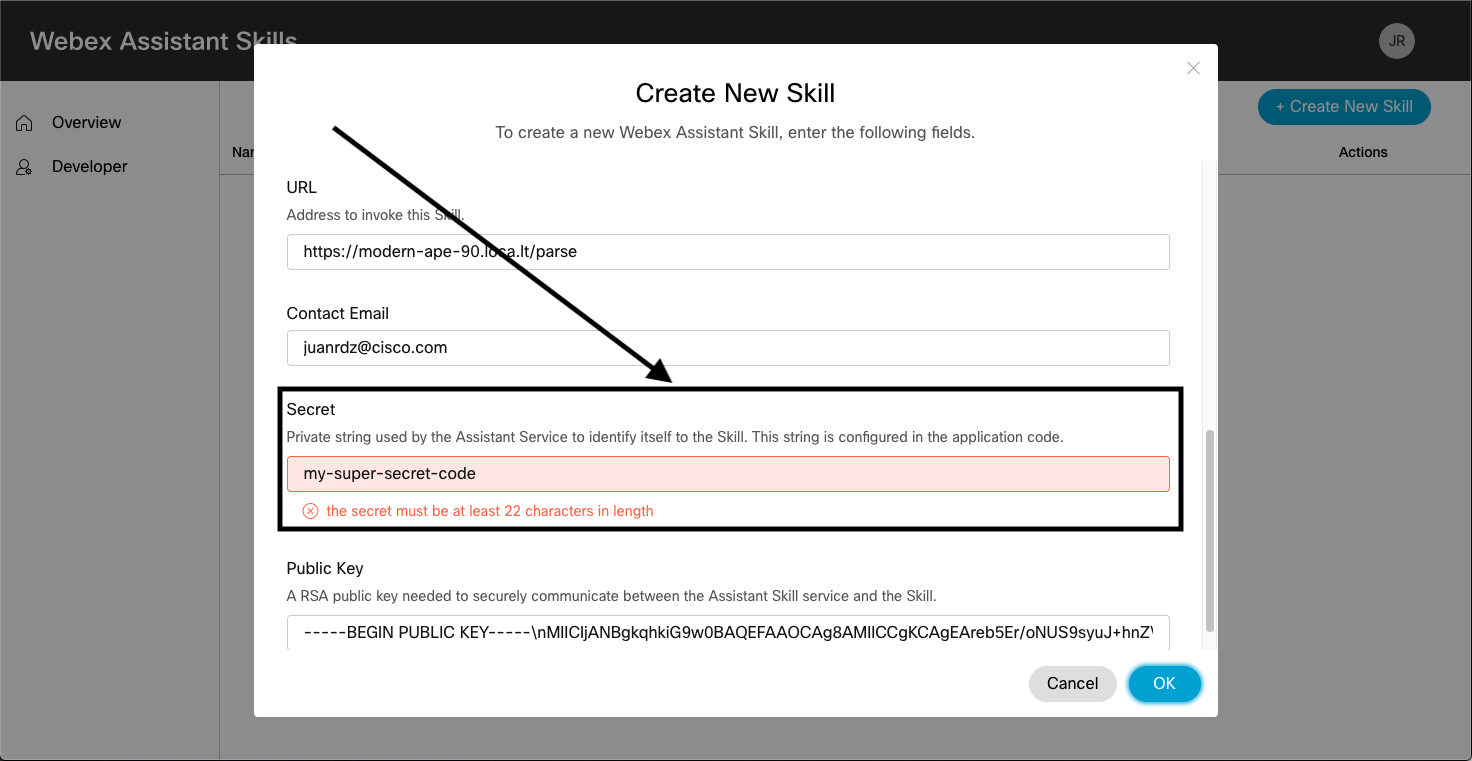
- Secret: Private string used by the Assistant Service to identify itself to the skill. This string is configured in the application code.
- Public Key: A RSA public key needed to securely communicate between the Assistant skills Service and the skill.
Fill in all the fields with your skill details above. When ready, click OK.
anchorManaging your Skill
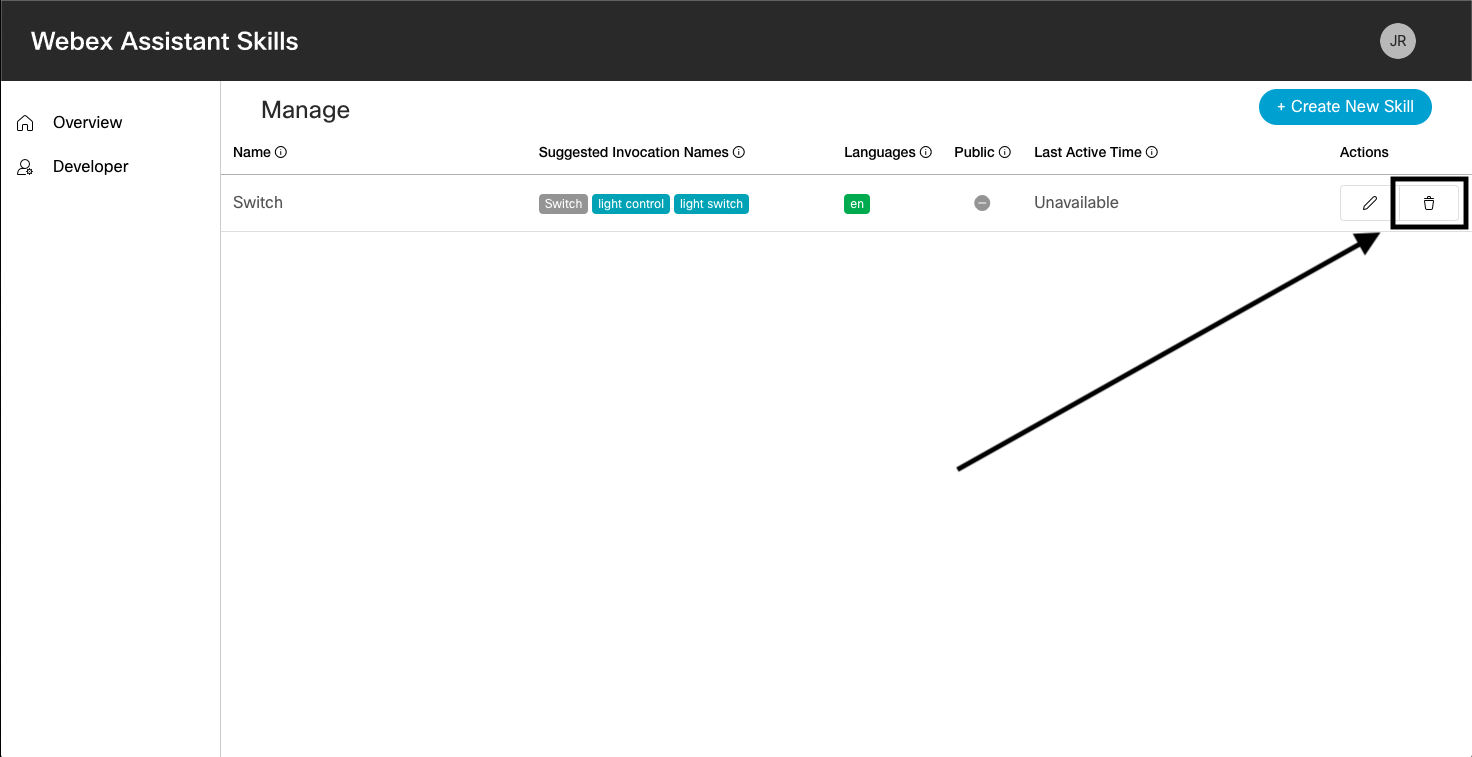
anchorOnce you have created at least one skill, it'll display in the Developer section as follows:
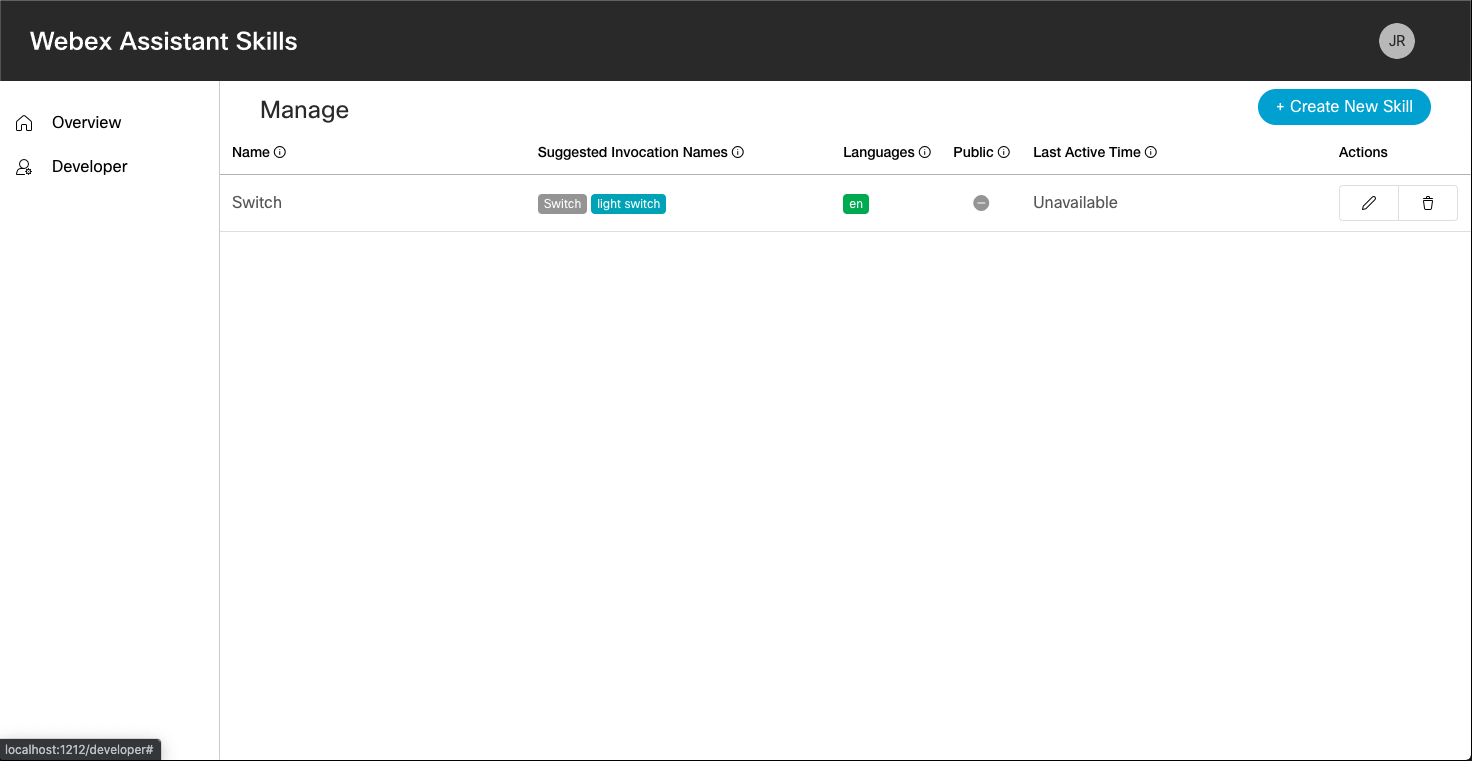
There are six columns of data associated with your skill. We have already mentioned a few of them in the Creating a Skill section. The ones we didn't cover are:
- Public: An indicator showing if the skill has been made public to all Webex sites. Note: Only skills built by Cisco can be made public at this time.
- Last Active Time: Last time the skill was connected (if available).
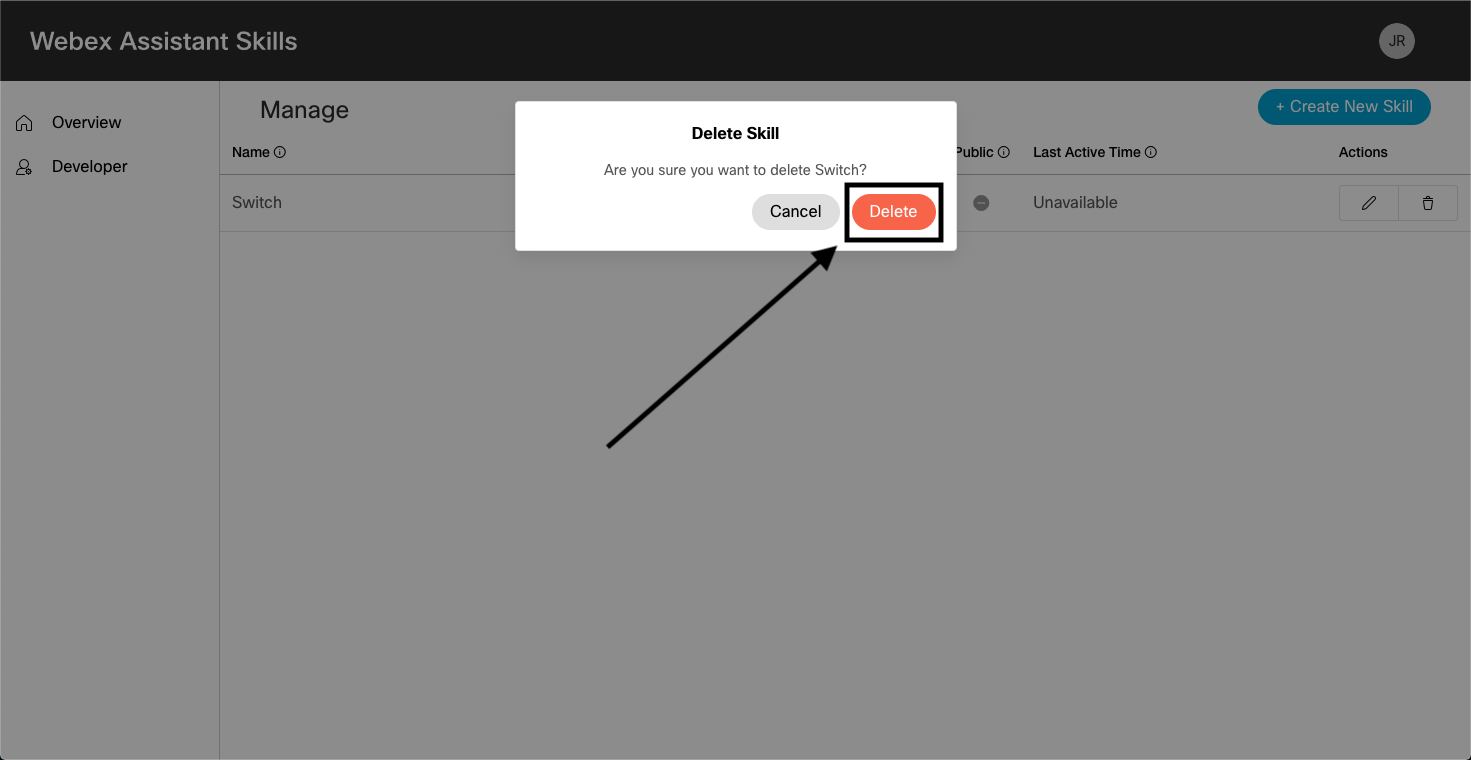
- Actions: This column contains two buttons Edit and Delete, which we explore in upcoming sections.
Form errors are highlighted in red, for example:
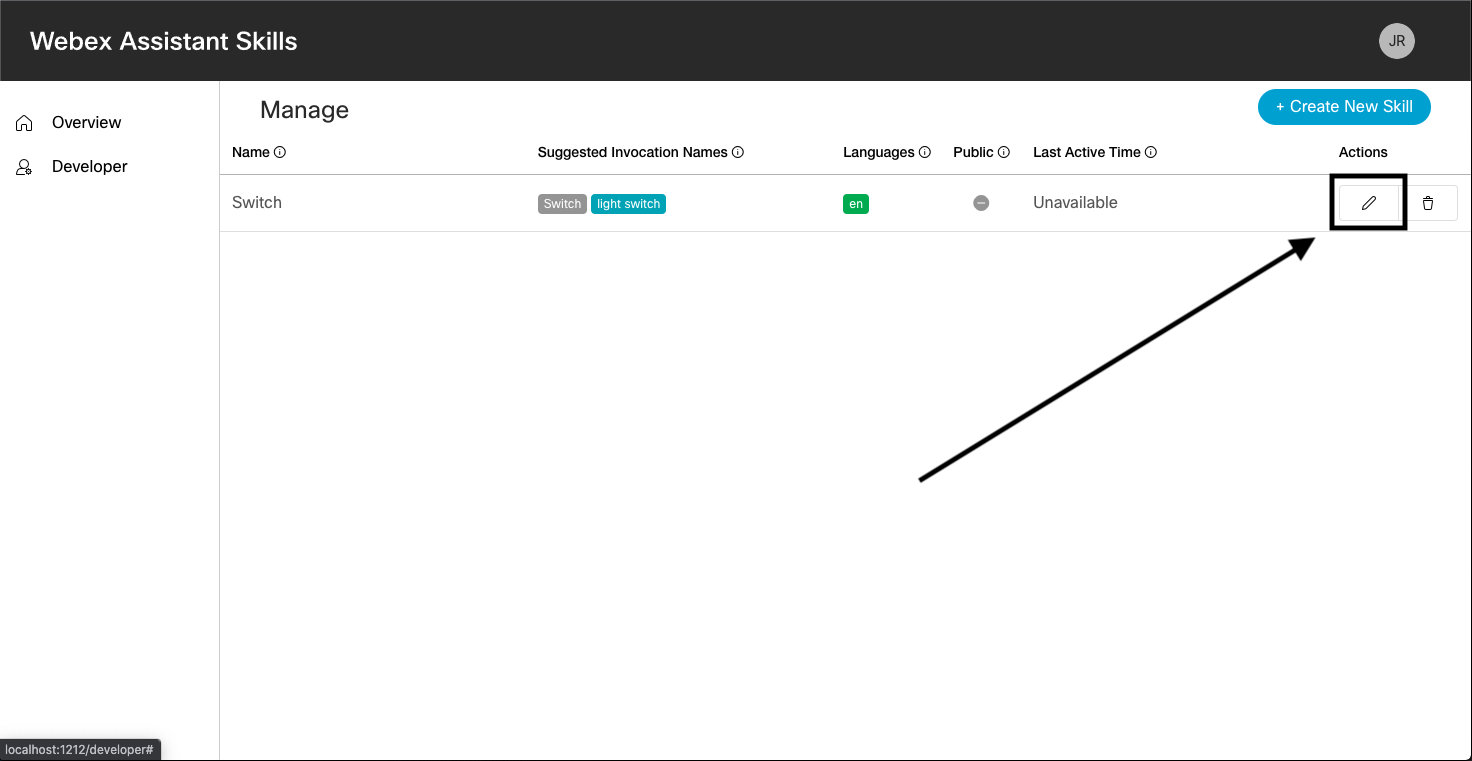
anchorEditing a Skill
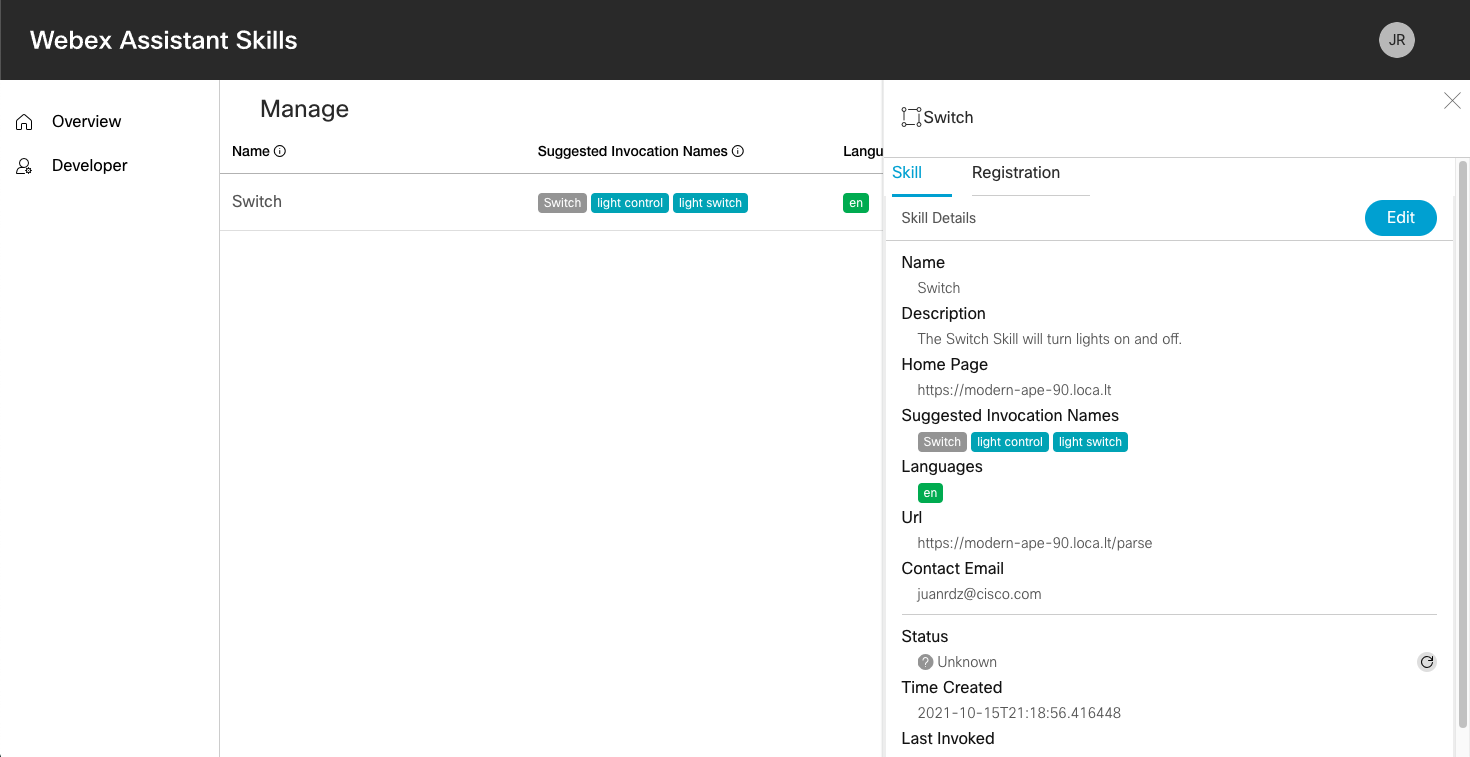
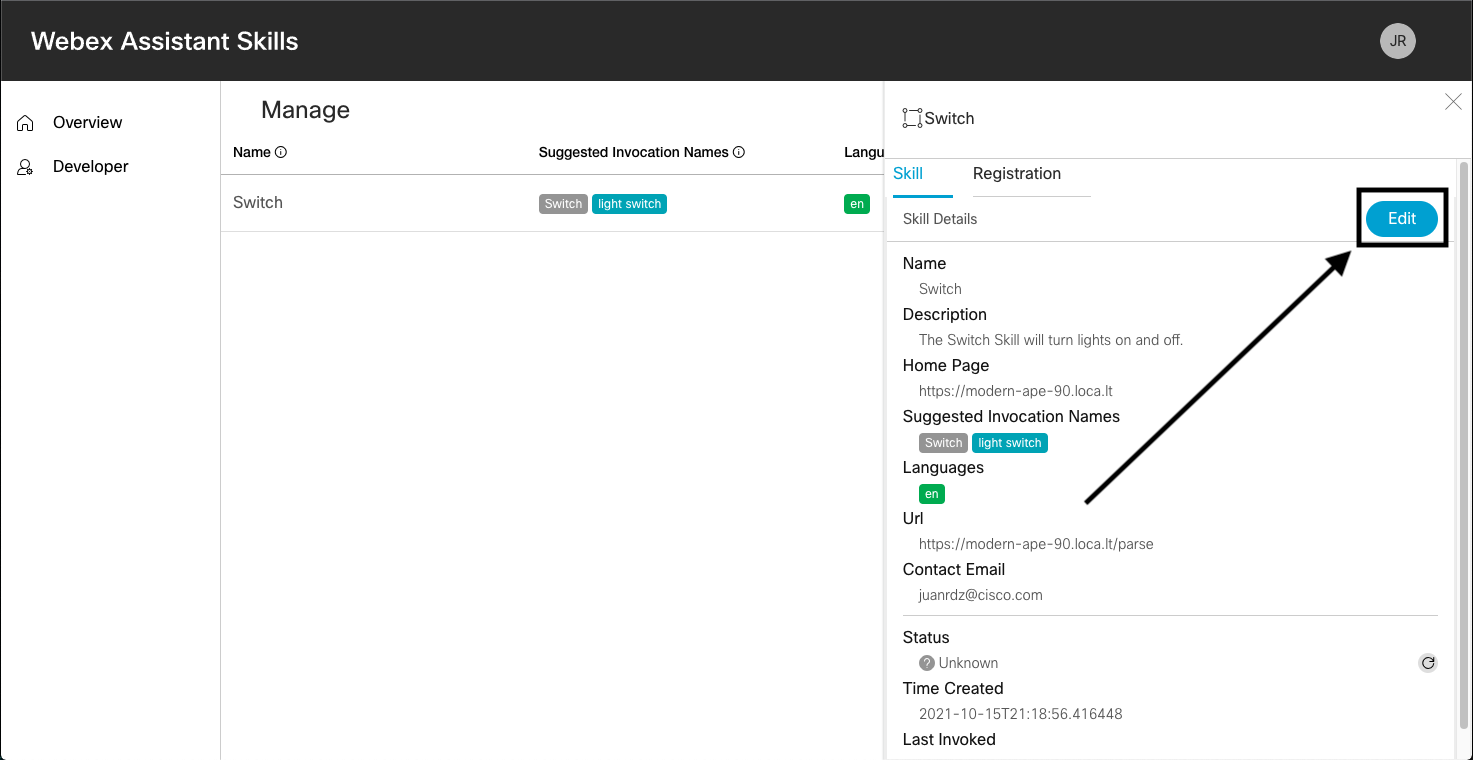
anchorWant to edit one of the form fields for the skill? Click the Edit button for the skill:
This will open a drawer from the right where we can see a Skill tab.
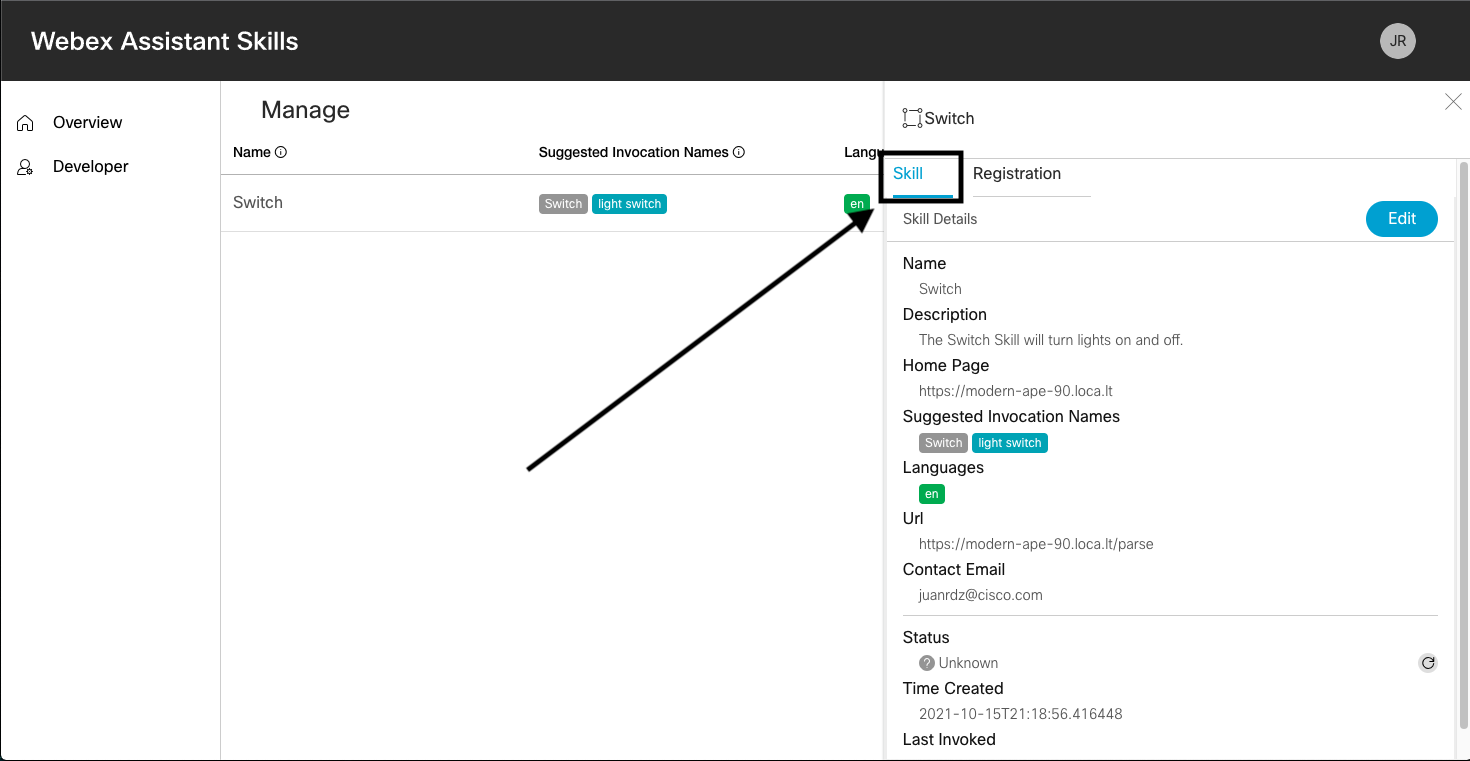
If you want to make modifications, click the blue Edit button:
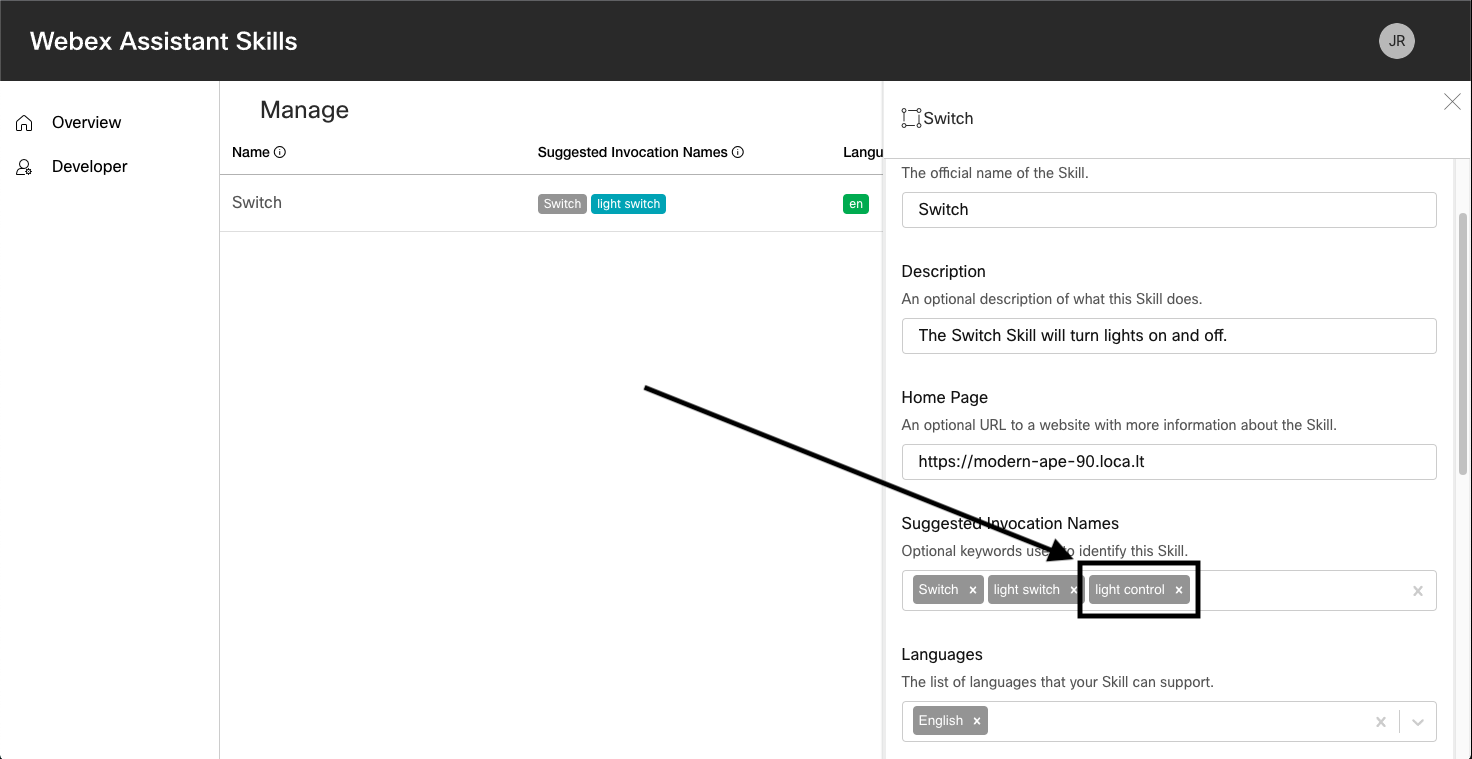
The form to edit your skill displays. As an example, we have added a new invocation name to our sample skill:
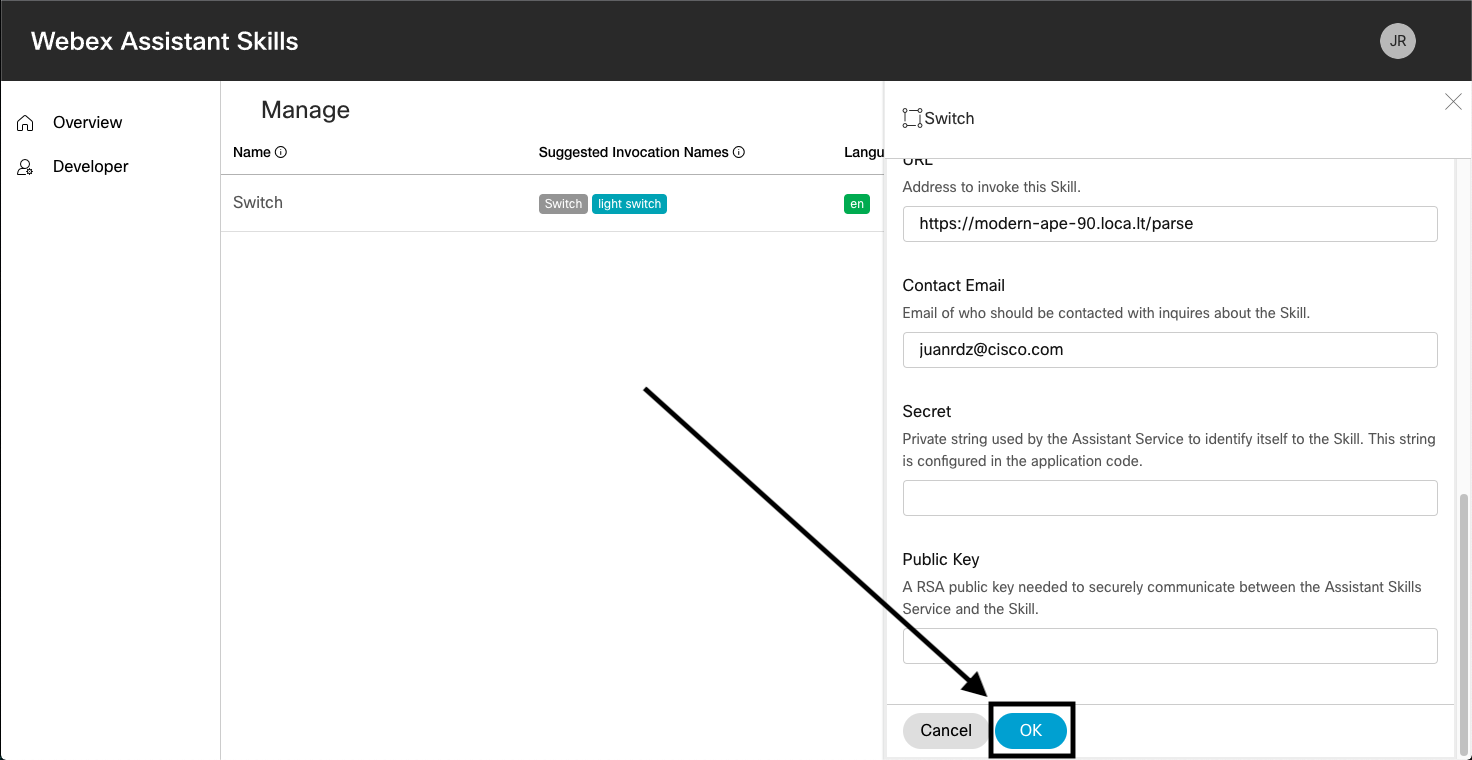
Save the changes by clicking OK at the bottom of the form:
We should now see the updated skill: