Browser SDK Messaging Quick Start
Browser SDK Messaging Quick Start
anchorBrowser SDK Messaging Sample App
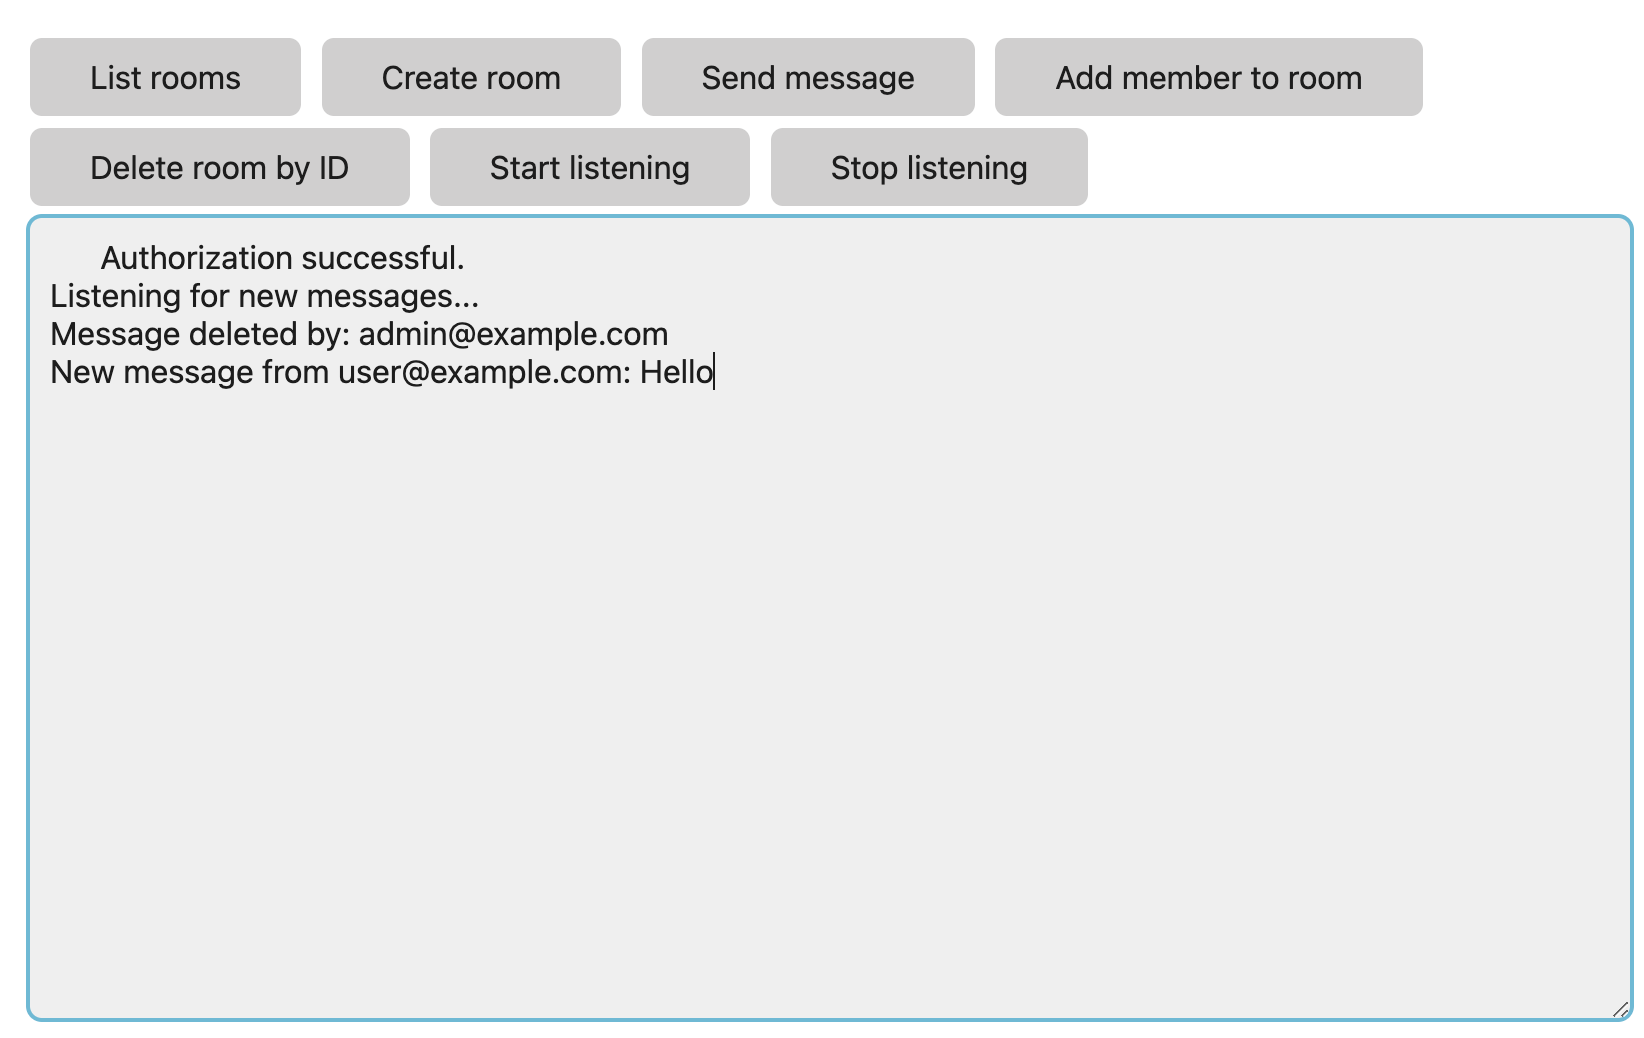
anchorThis tutorial shows how to use the Webex Browser SDK to do the following:
- List rooms (spaces) you belong to
- Create and delete rooms
- Send a message to a room
- Add members to a room
- Listen for newly created or deleted messages in a room
anchorProject Starter Files
anchorYou can obtain starter and completed project files on GitHub.
- index.js -- Contains code to initialize the Webex SDK with your personal access token (see Getting your personal access token) and defines a simple logging function.
- index.html -- Loads the Webex SDK and application code, and provides a basic UI with buttons to invoke various SDK methods. You will create the functions defined for each button's
onclickattribute.
anchorGetting your Personal Access Token
anchorWebex REST API calls require an API access token in the request header. For real-world applications you want to obtain an access token from a user using a Webex Integration and OAuth. For testing purposes however you can use your personal access token available in the Developer Portal.
The Webex JS SDK's init() takes a JSON object that determines how it will authorize API requests
To use your personal access token:
Copy your access token from the form below (you must be signed in to the Developer Portal).
Log in required for access token.BearerThis limited-duration personal access token is hidden for your security.Open index.js and paste your access token for the value of
access_token:const webex = (window.webex = window.Webex.init({ credentials: { access_token: "<YOUR-ACCESS-TOKEN-HERE>", }, }));Save your changes to index.js.
anchorGet a List of Rooms
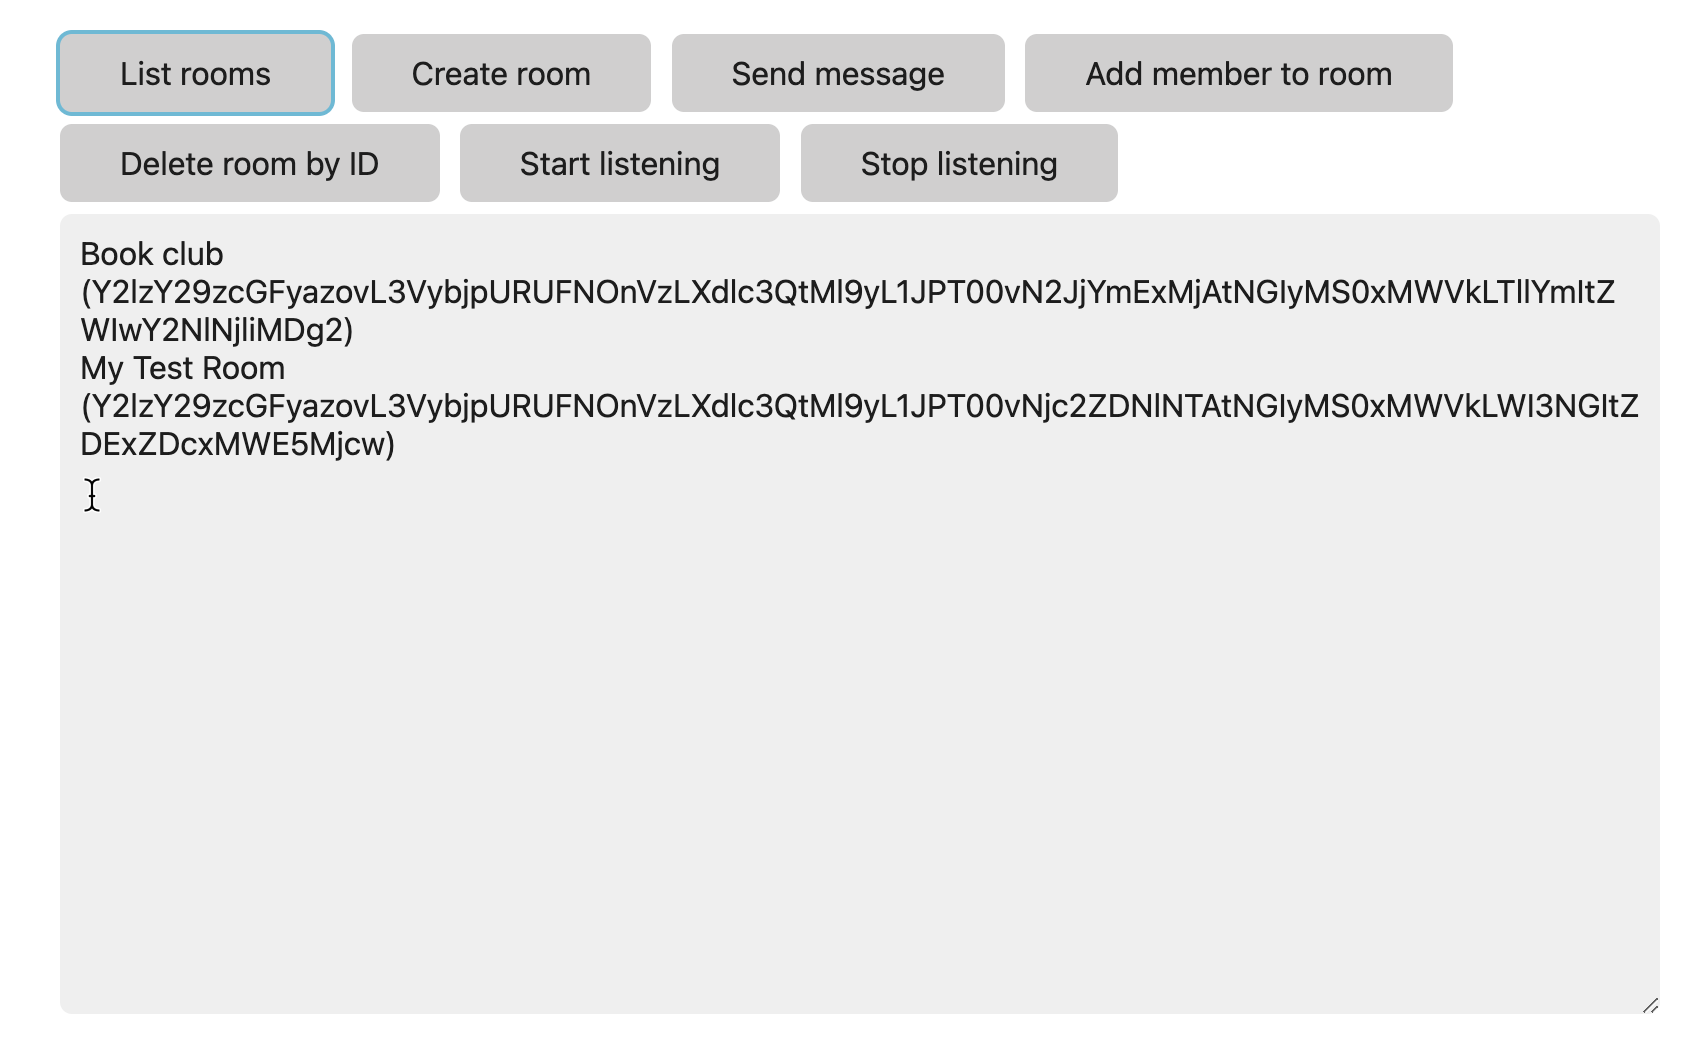
anchorFirst you'll use the Browser SDK's webex.rooms.list() method to get a list of rooms you belong to. The code loops over each Room object in the results and displays the title and id property of each object.
Add a
listRooms()function toindex.jsthat's called when the user clicks List rooms.function listRooms() { output.value = ""; webex.rooms .list({ max: 10 }) .then(function (rooms) { if (rooms.items.length == 0) { log("There are no rooms to list. Click Create Room."); } else { for (var i = 0; i < rooms.items.length; i += 1) { log(`${rooms.items[i].title} (${rooms.items[i].id})`); } } }).catch(function (error) { log(error); }); }Open index.html in a browser and click List rooms.

anchorCreating a Room
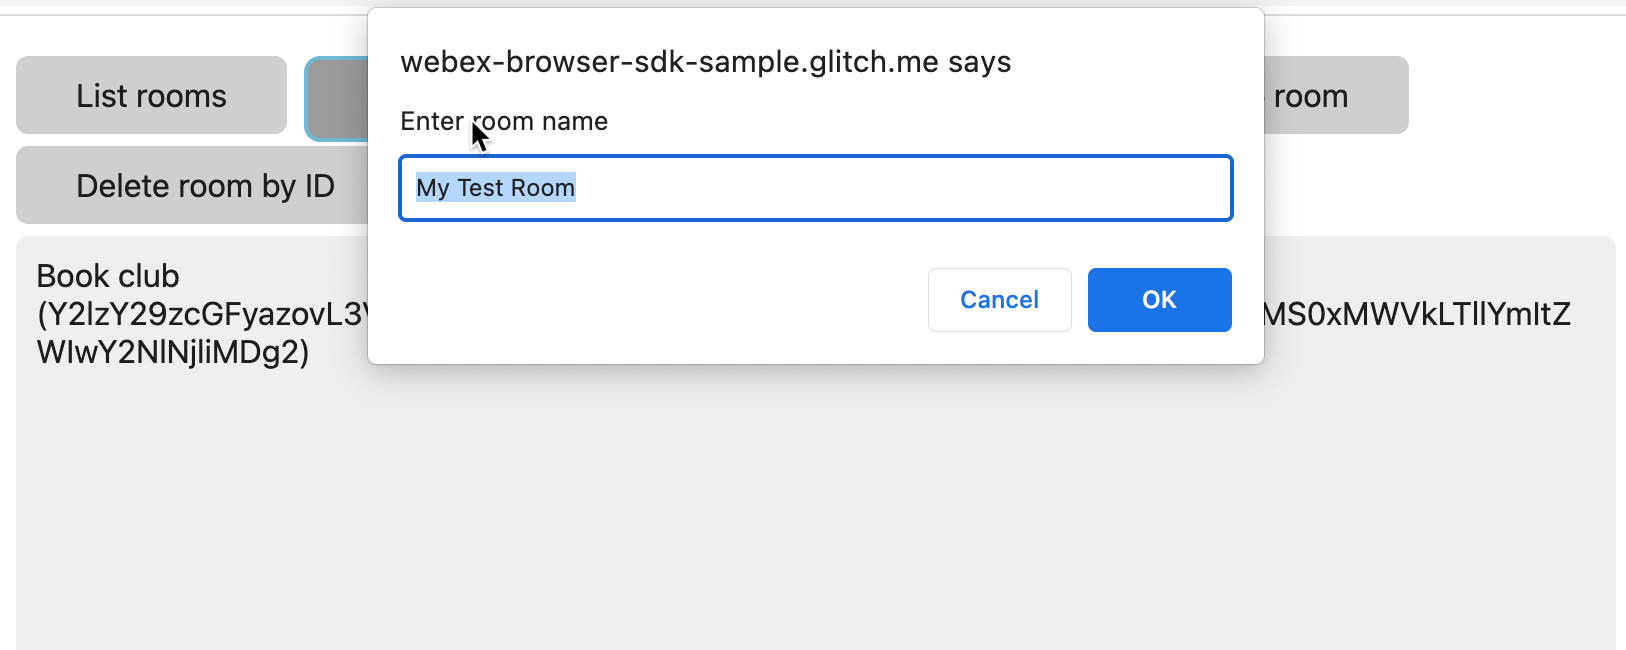
anchorNext you'll use the webex.rooms.create() method to create a new room (space). The prompt() method is used to get the room name from the user.
Open index.js and add the following code.
// Variables to hold new room name and ID
let newRoomName, newRoomId;

function createRoom() {
    // Create the room and save room name and ID
    newRoomName = prompt("Enter room name", "My Test Room");
    if (newRoomName) {
    webex.rooms
        .create({ title: newRoomName })
        .then(function (room) {
            output.value = "";
            newRoomId = room.id;
            log(`Created room: ${room.title} with ID ${room.id}`);
        })
        .catch(function (error) {
            output.value += error + "\n";
        });
    }
}
Save your changes to index.js and reload index.html in your web browser.
Click Create room and enter a room name at the prompt, then click OK.
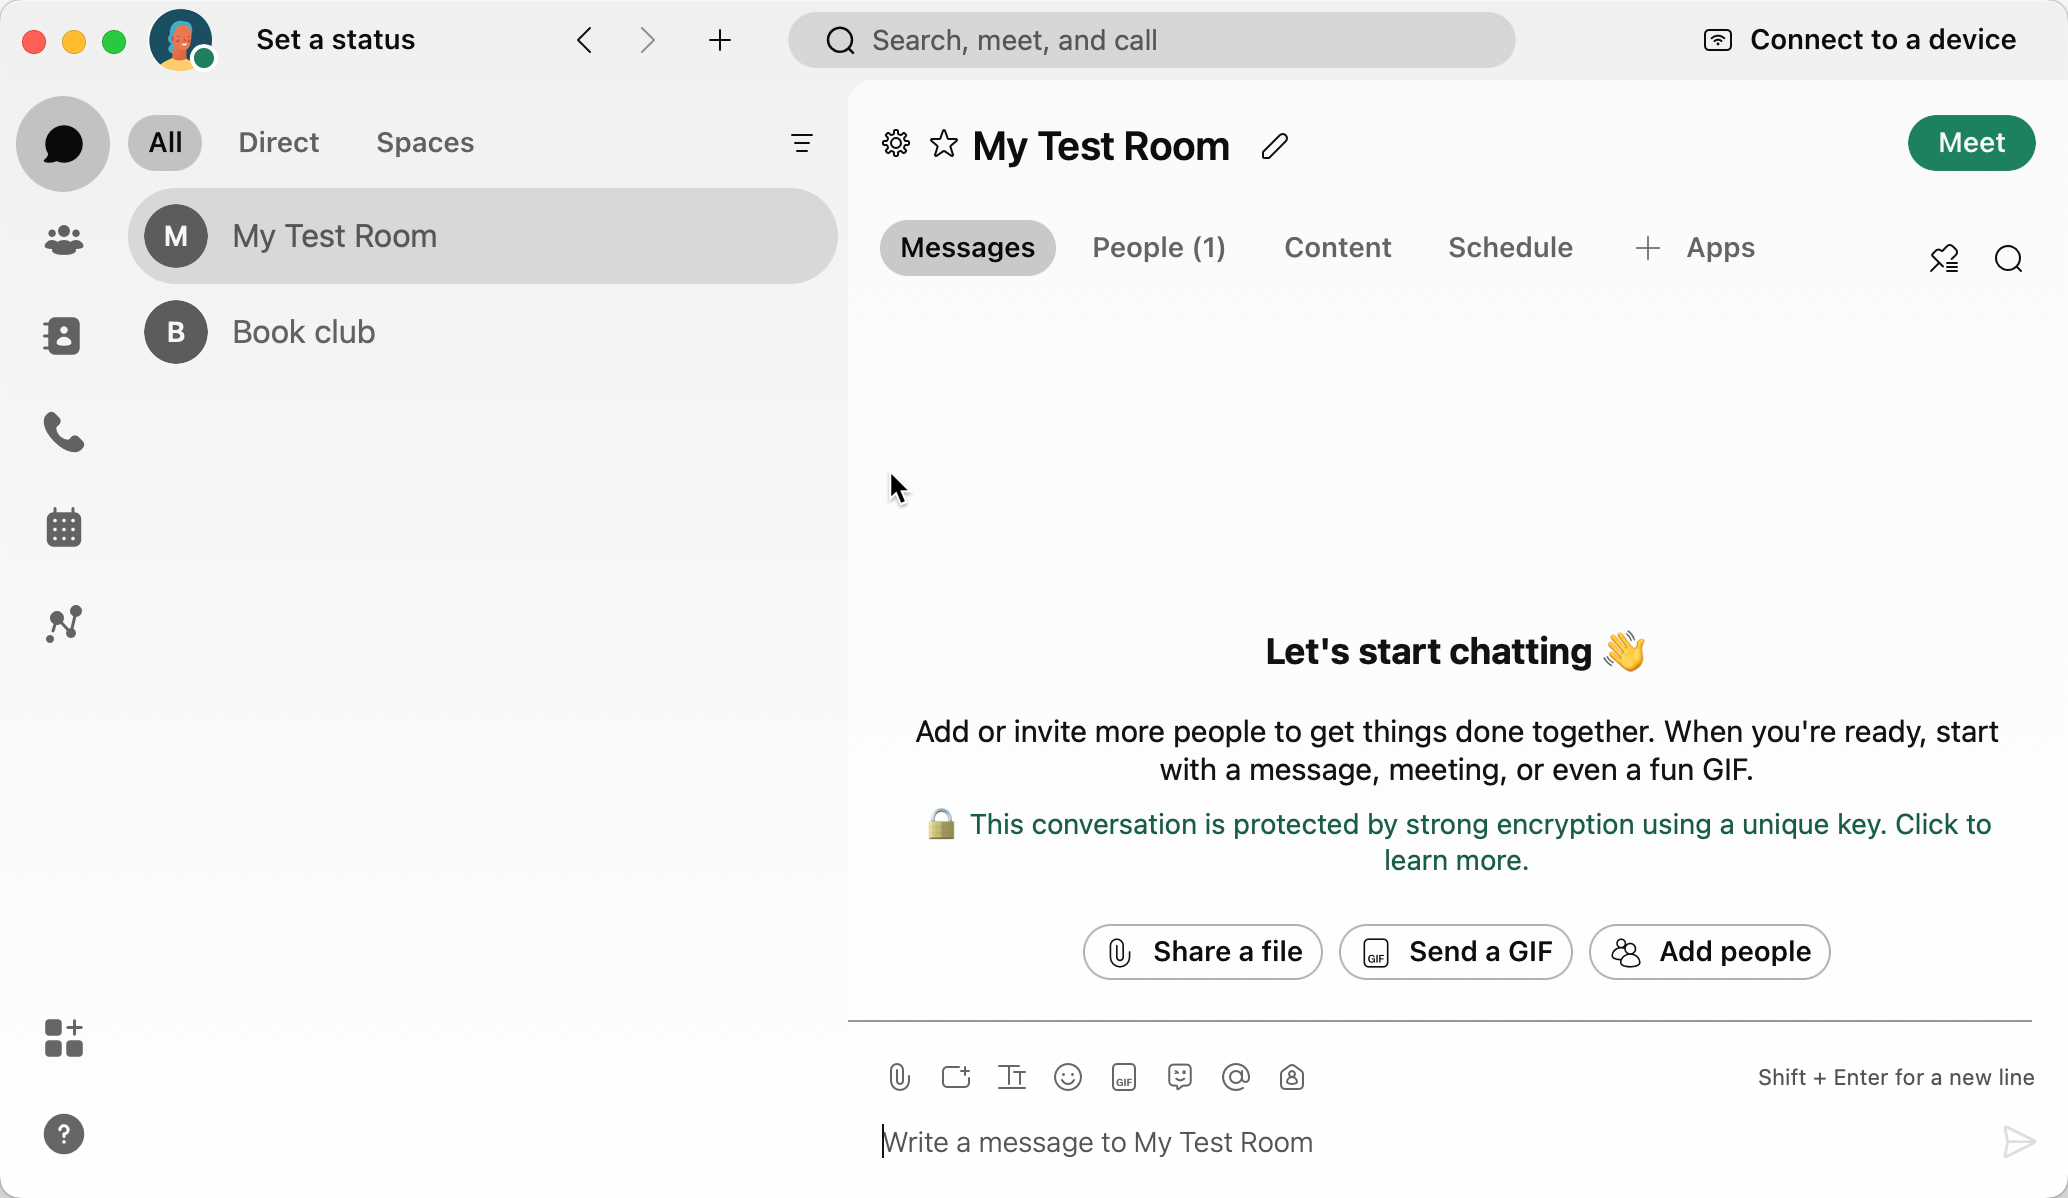
Open your Webex app to see the new room you've created.
anchorSend a Message to a Room
anchorIn this step you'll add code that sends a message to a room using the webex.messages.create() method.
Steps:
Open index.js and add the following
createRoom()function.let newRoomName; function createRoom() { // Create the room and set newRoomId to the room's ID newRoomName = prompt("Enter room name", "My Test Room"); if (newRoomName) { webex.rooms .create({ title: newRoomName }) .then(function (room) { output.value = ""; newRoomId = room.id; log(`Created room: ${room.title} with ID ${room.id}`); }) .catch(function (error) { output.value += error + "\n"; }); } }Save your changes and load index.html in the browser.
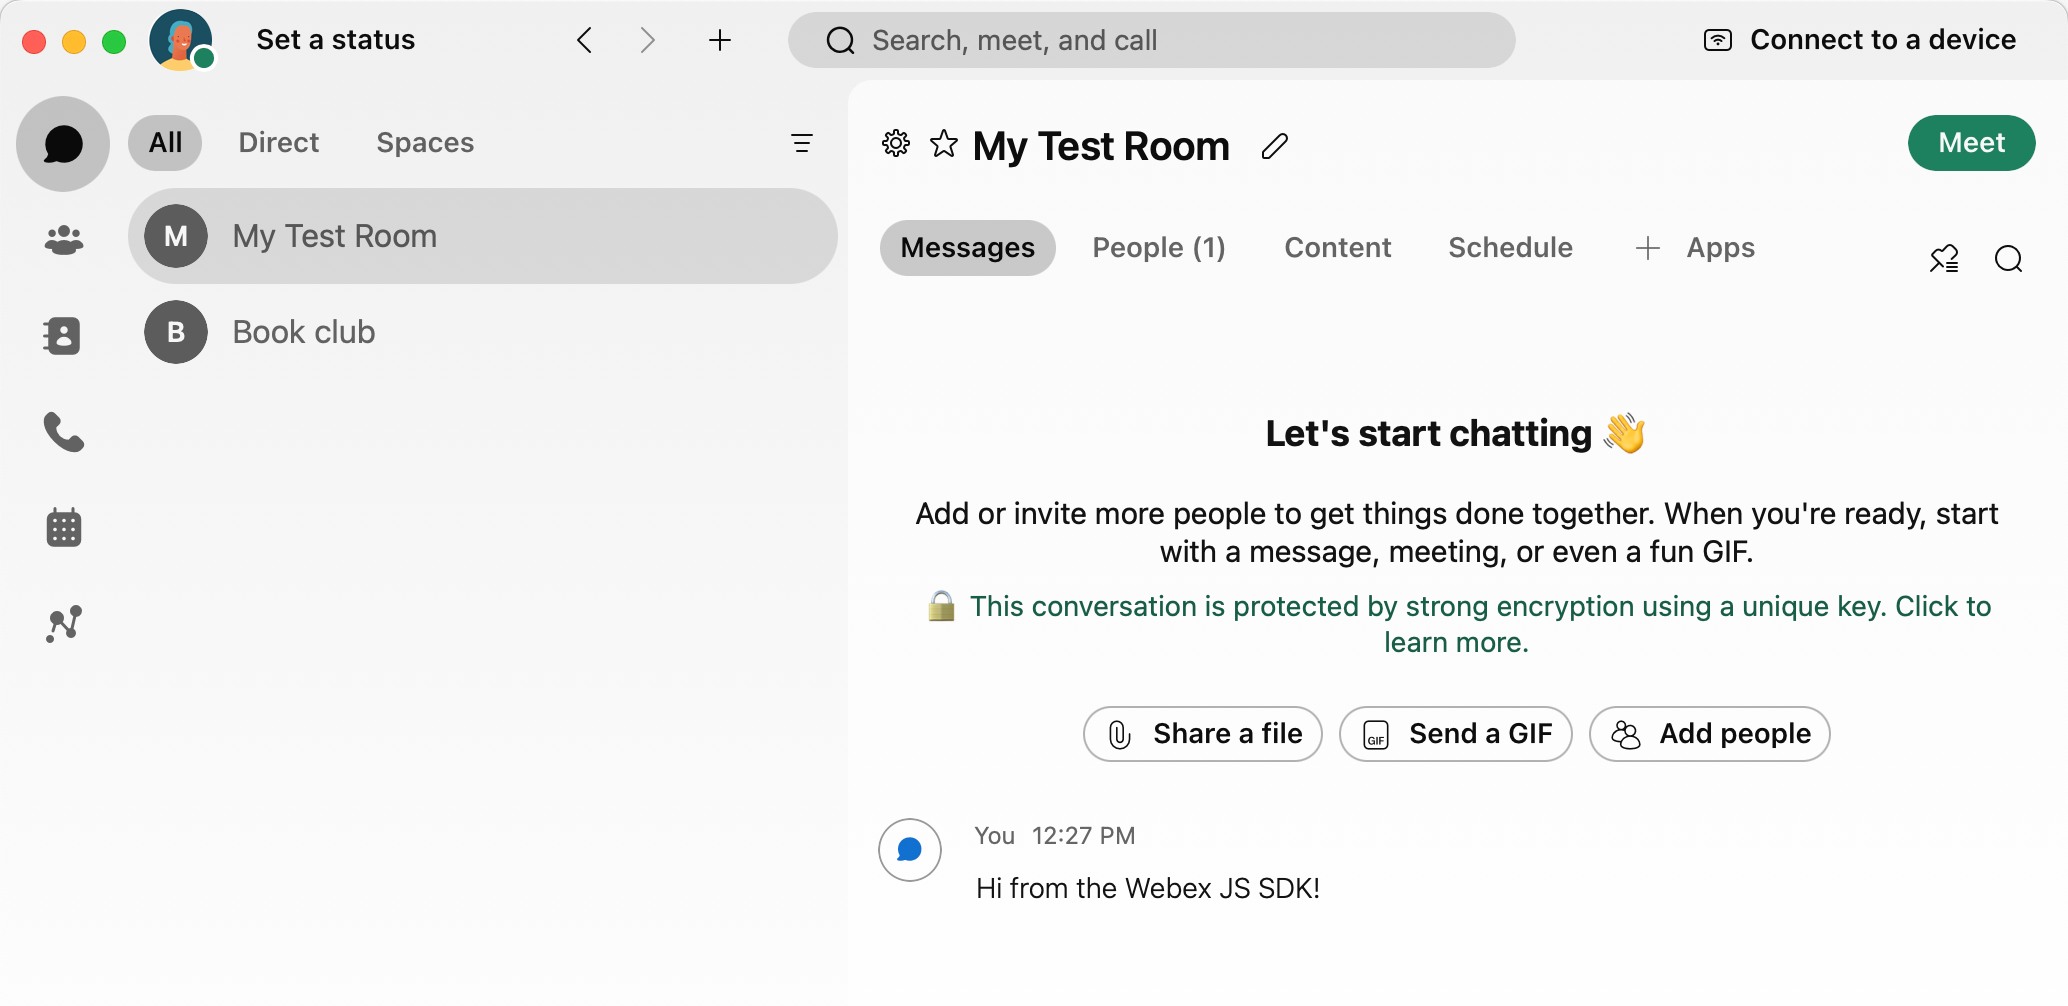
Click Send message, enter the message text to send at the prompt, then click OK.
Open the Webex app to see the message in the newly created room.
anchorAdd a User to a Room
anchorNext, you'll use the webex.memberships.create() method to add a user to a room by their email address. You can use any email address, there doesn't need to be Webex account associated it.
Steps:
Open index.js and create an
addMember()function,function addMember() { let email = prompt("Enter email of user to add", "user@example.com"); if (newRoomId) { webex.memberships .create({ personEmail: email, roomId: newRoomId, }) .then(function (membership) { log(`${membership.personEmail} added to room`); }) .catch(function (error) { log(error); }); } else { log("No room ID. Click Create Room"); } }Save your changes and open index.html in a browser.
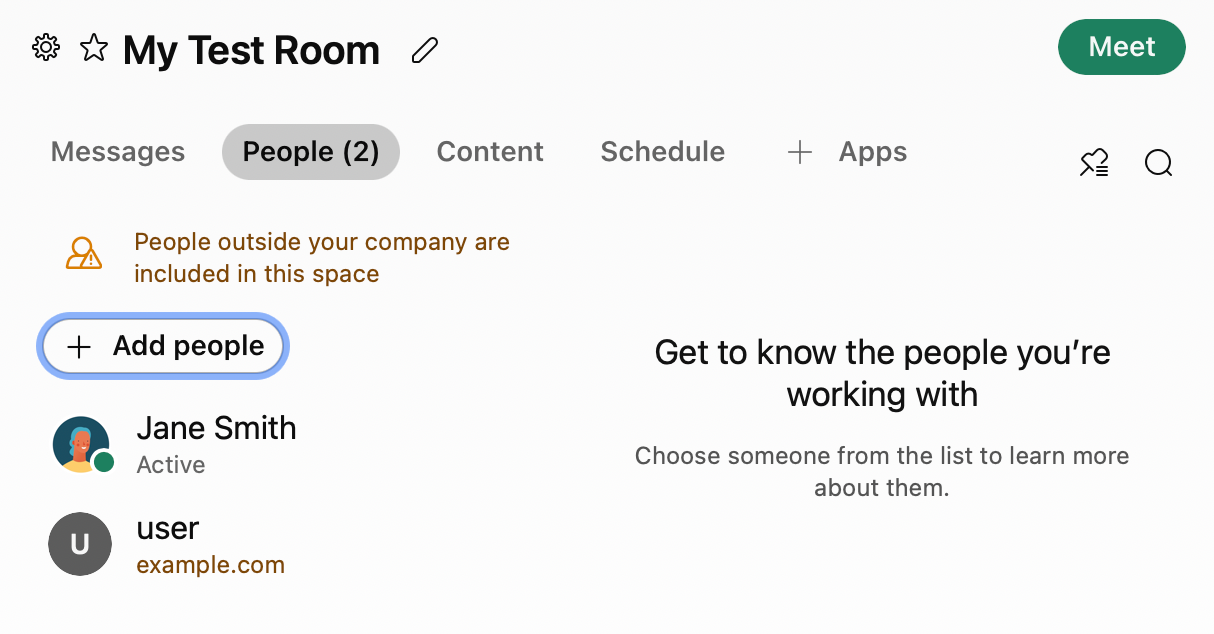
Click Add member to room, enter an email address at the prompt, then click OK.
Open the Webex app and see that the user has been added to the room.
anchorDelete a Room
anchoryou'll use the webex.messages.listen() method to be notified when a message is created or deleted in a room.
Open index.js and add the following function:
function deleteRoom() {
    let roomId = prompt("Enter ID of room to delete", newRoomId);
    webex.rooms
        .remove(roomId).then(function () {
            output.value = "";
            log("Room deleted");
        }).catch(function (error) {
            log(`Error deleting room ${error}`);
        });
}
Save your changes and reload index.html in your browser.
Click List rooms to get a list of rooms.
Copy the ID of one of the rooms to your clipboard. It should be a room that you created previously with this app.
Click Delete room by ID, paste the room ID into the input text field at the prompt, then click OK.
Open the Webex app to confirm the room was deleted.
anchorListen for New Messages
anchorNext, you'll use the webex.messages.listen() method to be notified when a message is created or deleted in a room.
Steps:
Open index.js and the following code that defines
startListening()andstopListening()methods that are called when the user presses the corresponding buttons. The app listens for created and deleted message events.function startListening() { webex.messages.listen().then(() => { // Listen for newly new message events: webex.messages.on('created', (event) => log("New message from " + event.data.personEmail + ": " + event.data.text)); // Listen for deleted message events: webex.messages.on('deleted', (event) => log(`Message delete event: ${JSON.stringify(event)}`)); log("Listening for new messages...") }).catch((e) => console.error(`Unable to register for message events: ${e}`)); } function stopListening() { webex.messages.stopListening(); webex.messages.off('created'); webex.messages.off('deleted'); log("Stopped listening for new messages.") }Save your changes and open index.html in a browser.
Click Start Listening.
Open the Webex app and send a message to any space you belong to, or delete a message. The events are
