Getting Started
Onboard Your Agent
This guide helps developers register an A2A (Agent2Agent) Agentic App on the Webex Developer Portal.
A2A is an open communication standard that enables multiple agents — potentially using different LLMs, runtimes, or toolsets — to exchange messages, delegate tasks, and collaborate. Unlike MCP, which connects one agent to external capabilities, A2A connects multiple agents to each other.
Beta: A2A registration is currently available only in beta. You must sign up for the beta program to access this feature.
anchorPrerequisites
anchorBefore starting, ensure you have:
- Access to the Webex Developer Portal.
- Enrollment in the A2A beta program.
- A deployed A2A server reachable via HTTPS.
- An Agent Card served at
{serverUrl}/.well-known/agent-card.jsonconforming to A2A Protocol v1.x.
A2A authentication and transport details are auto-discovered from your server's Agent Card — you do not need to provide them manually during registration.
Agent Card Requirements
Your Agent Card must include:
supportedInterfaces— at least one interface withprotocolVersion1.x (1.0–1.9).securitySchemes— at least one supported scheme:oauth2SecurityScheme(authorization code or client credentials flow)apiKeySecurityScheme
- A valid
nameanddescription(optional but recommended for pre-populating the form).
The serverUrl you provide must be a base URL with no path segments (e.g., https://agent.example.com). The portal appends /.well-known/agent-card.json automatically.
anchorStep-by-Step Registration Process
anchor1. Navigate to the Webex Developer Portal
Open https://developer.webex.com in your browser.
2. Click Start Building Apps
On the home page, click Start Building Apps to access the app creation interface.
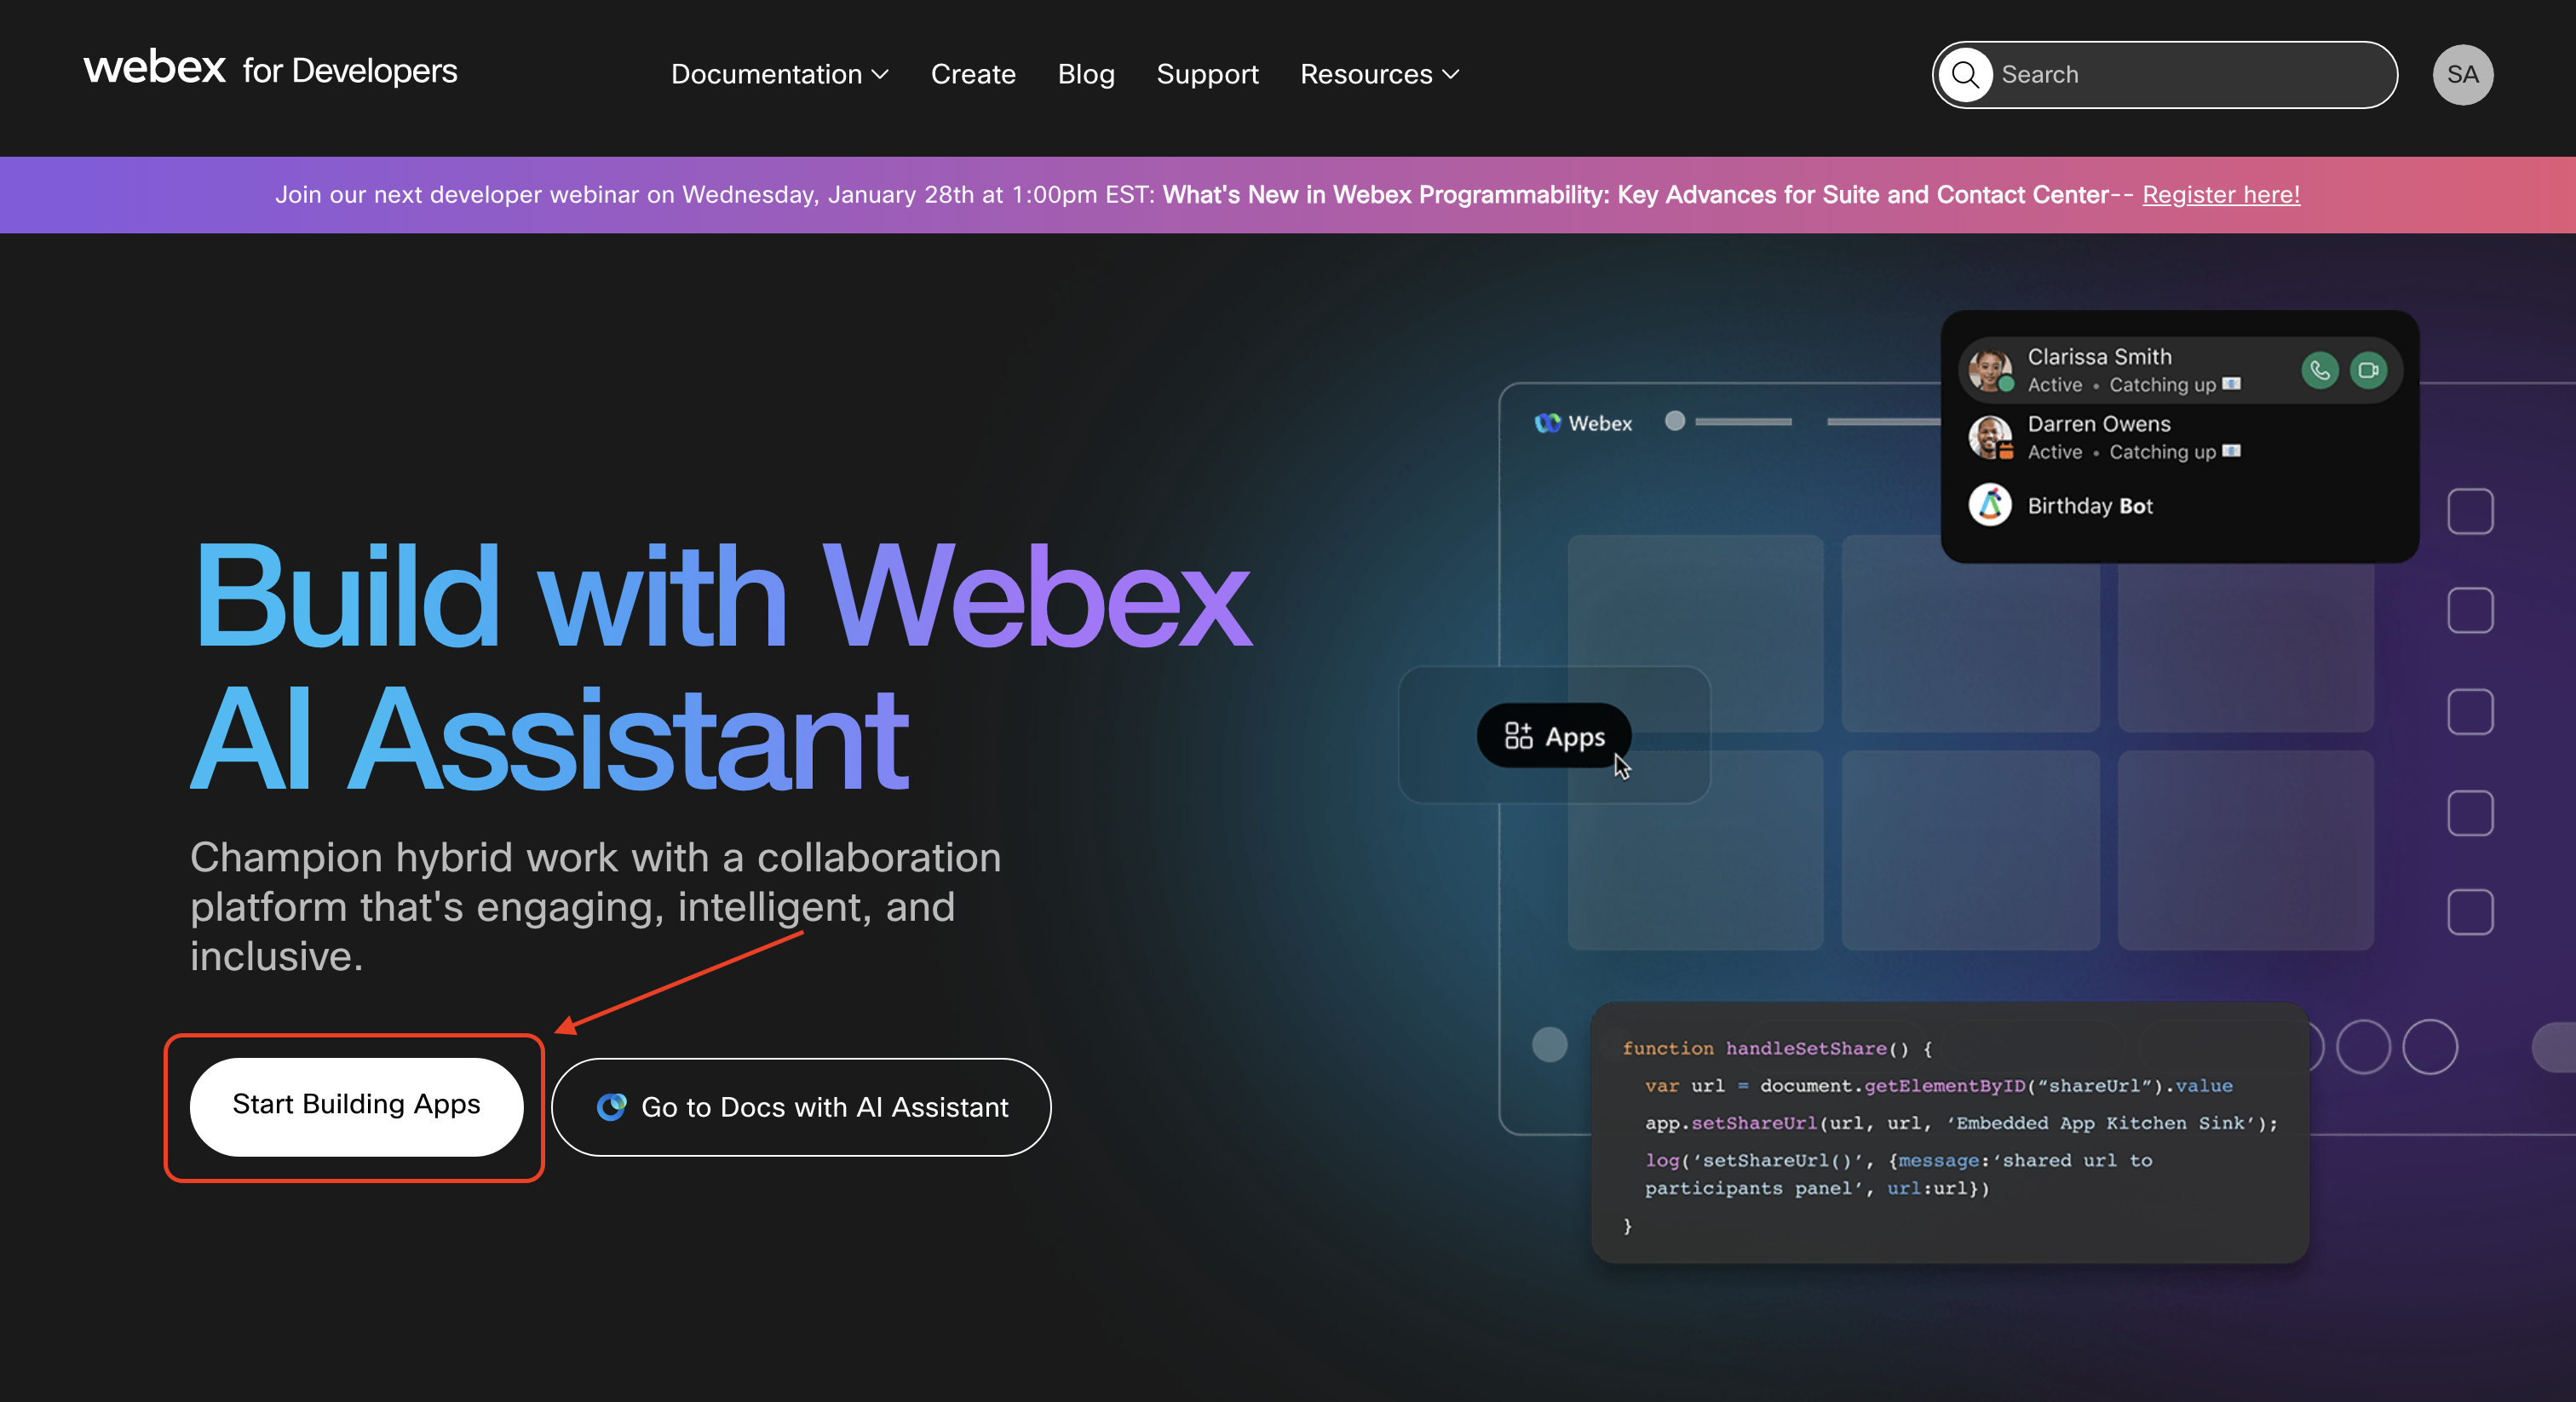
Alternatively, you can click on your profile, select My Webex Apps from the dropdown and click on Create a New App on the My Apps page that appears.
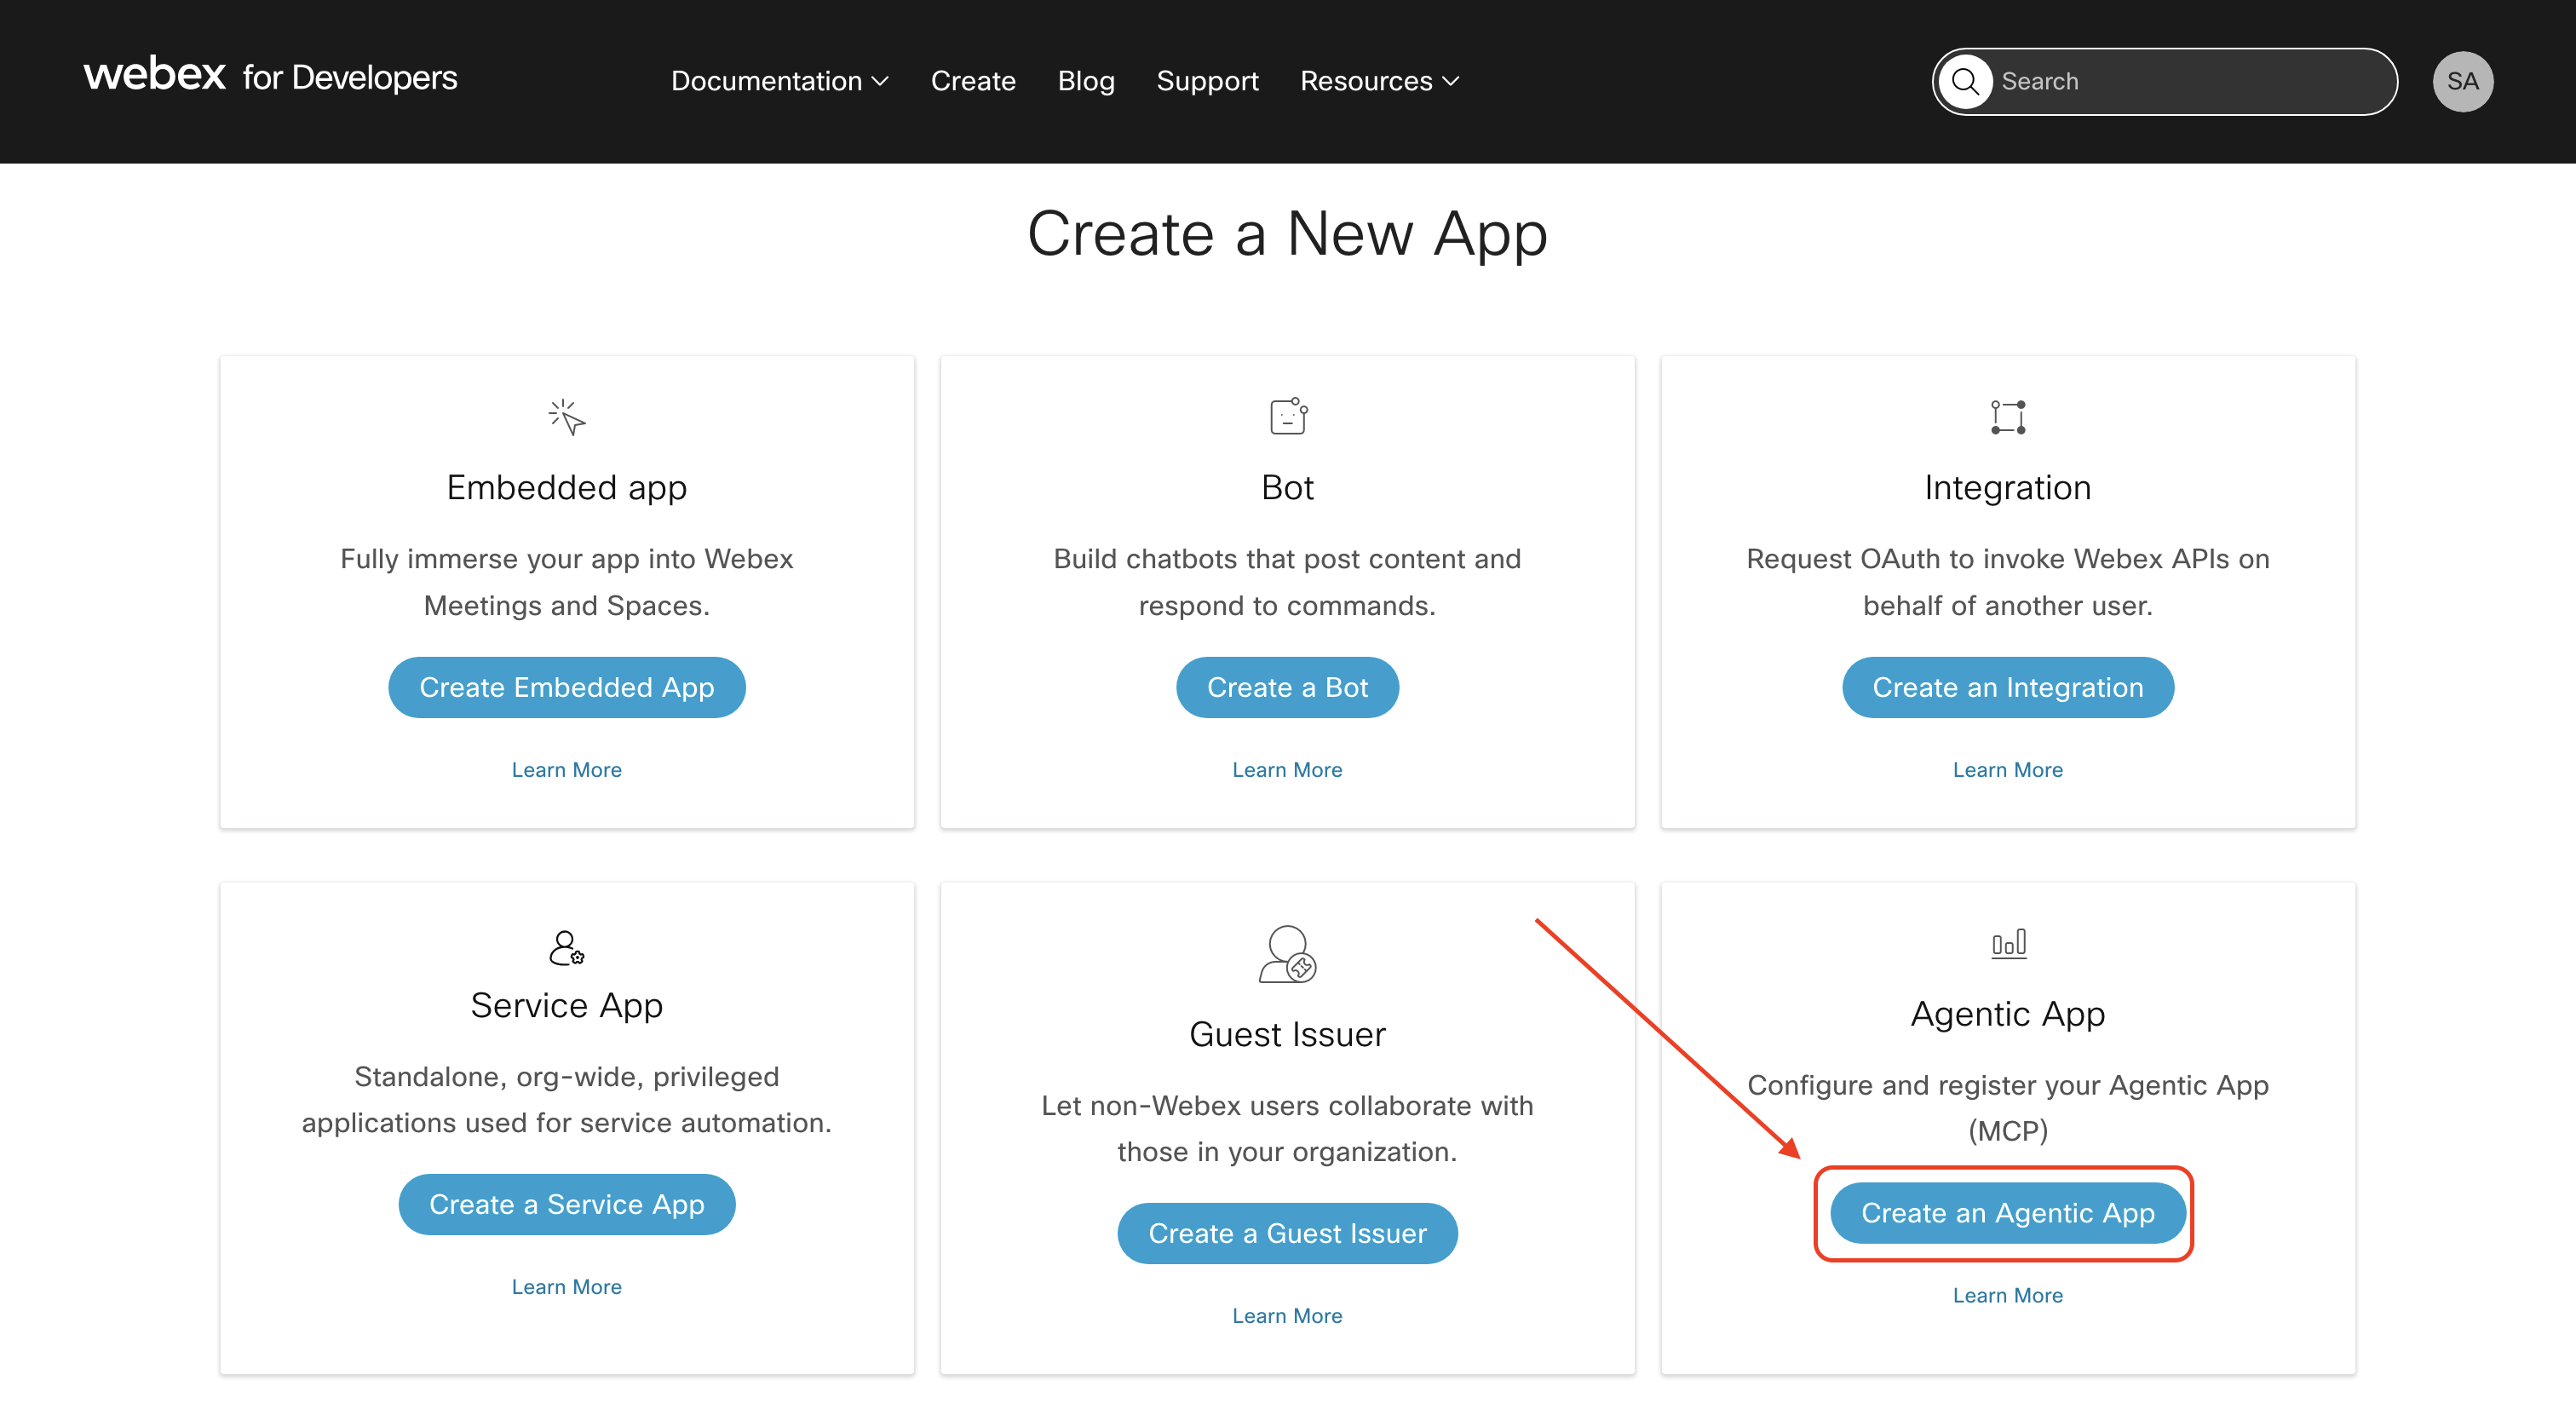
3. Select Create an Agentic App
From the Create a New App page, click Create an Agentic App to begin the agentic app registration.
4. Select A2A Module and Enter Server URL
- Module: Select
A2A. - App URL: Enter the base HTTPS URL of your A2A server (e.g.,
https://agent.example.com).
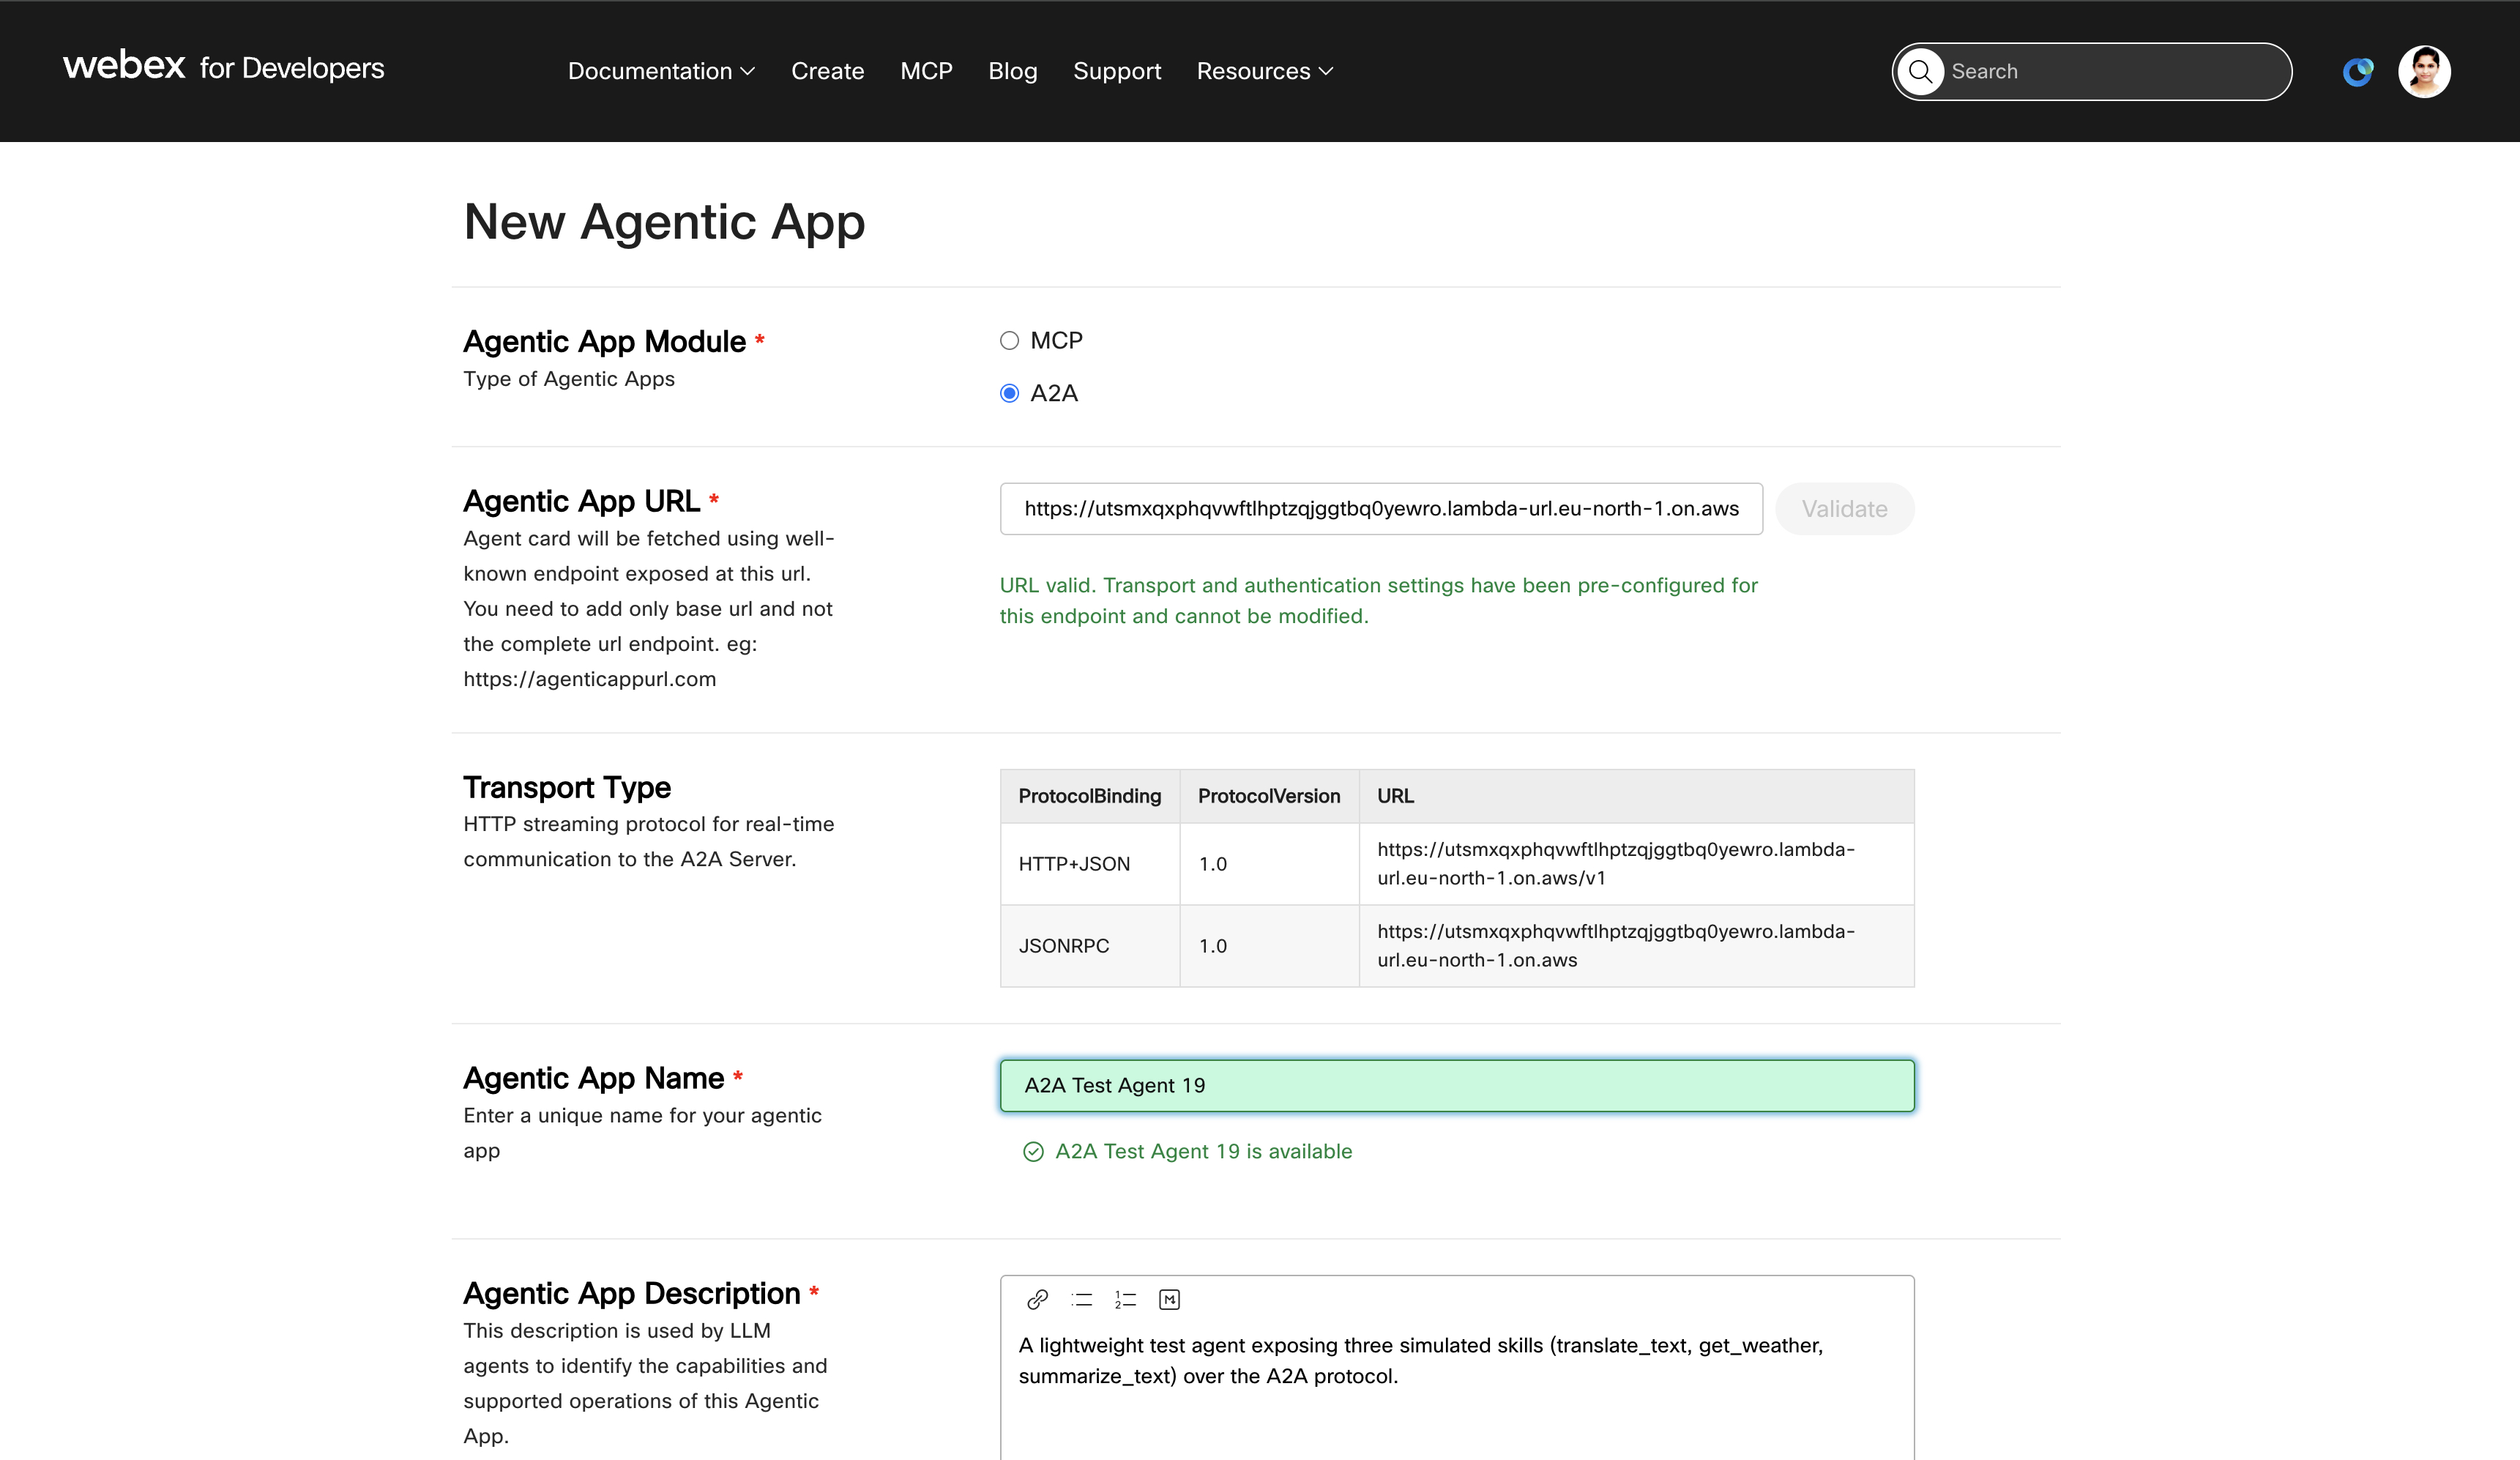
5. Validate Your Server
Click the Validate button. The portal fetches your Agent Card from {url}/.well-known/agent-card.json and verifies that:
- The Agent Card has at least one supported interface with
protocolVersion1.x. - At least one supported security scheme is present.
On successful validation, the following fields are auto-populated:
- Transport Type — read-only table showing protocol binding, version, and URL from
supportedInterfaces. - Auth Type — read-only, derived from the Agent Card's
securitySchemes(e.g.,OAuth 2.0 Authorization Code,OAuth 2.0 Client Credentials,API Key). - Name — pre-populated from the Agent Card (editable).
- Description — pre-populated from the Agent Card (editable).
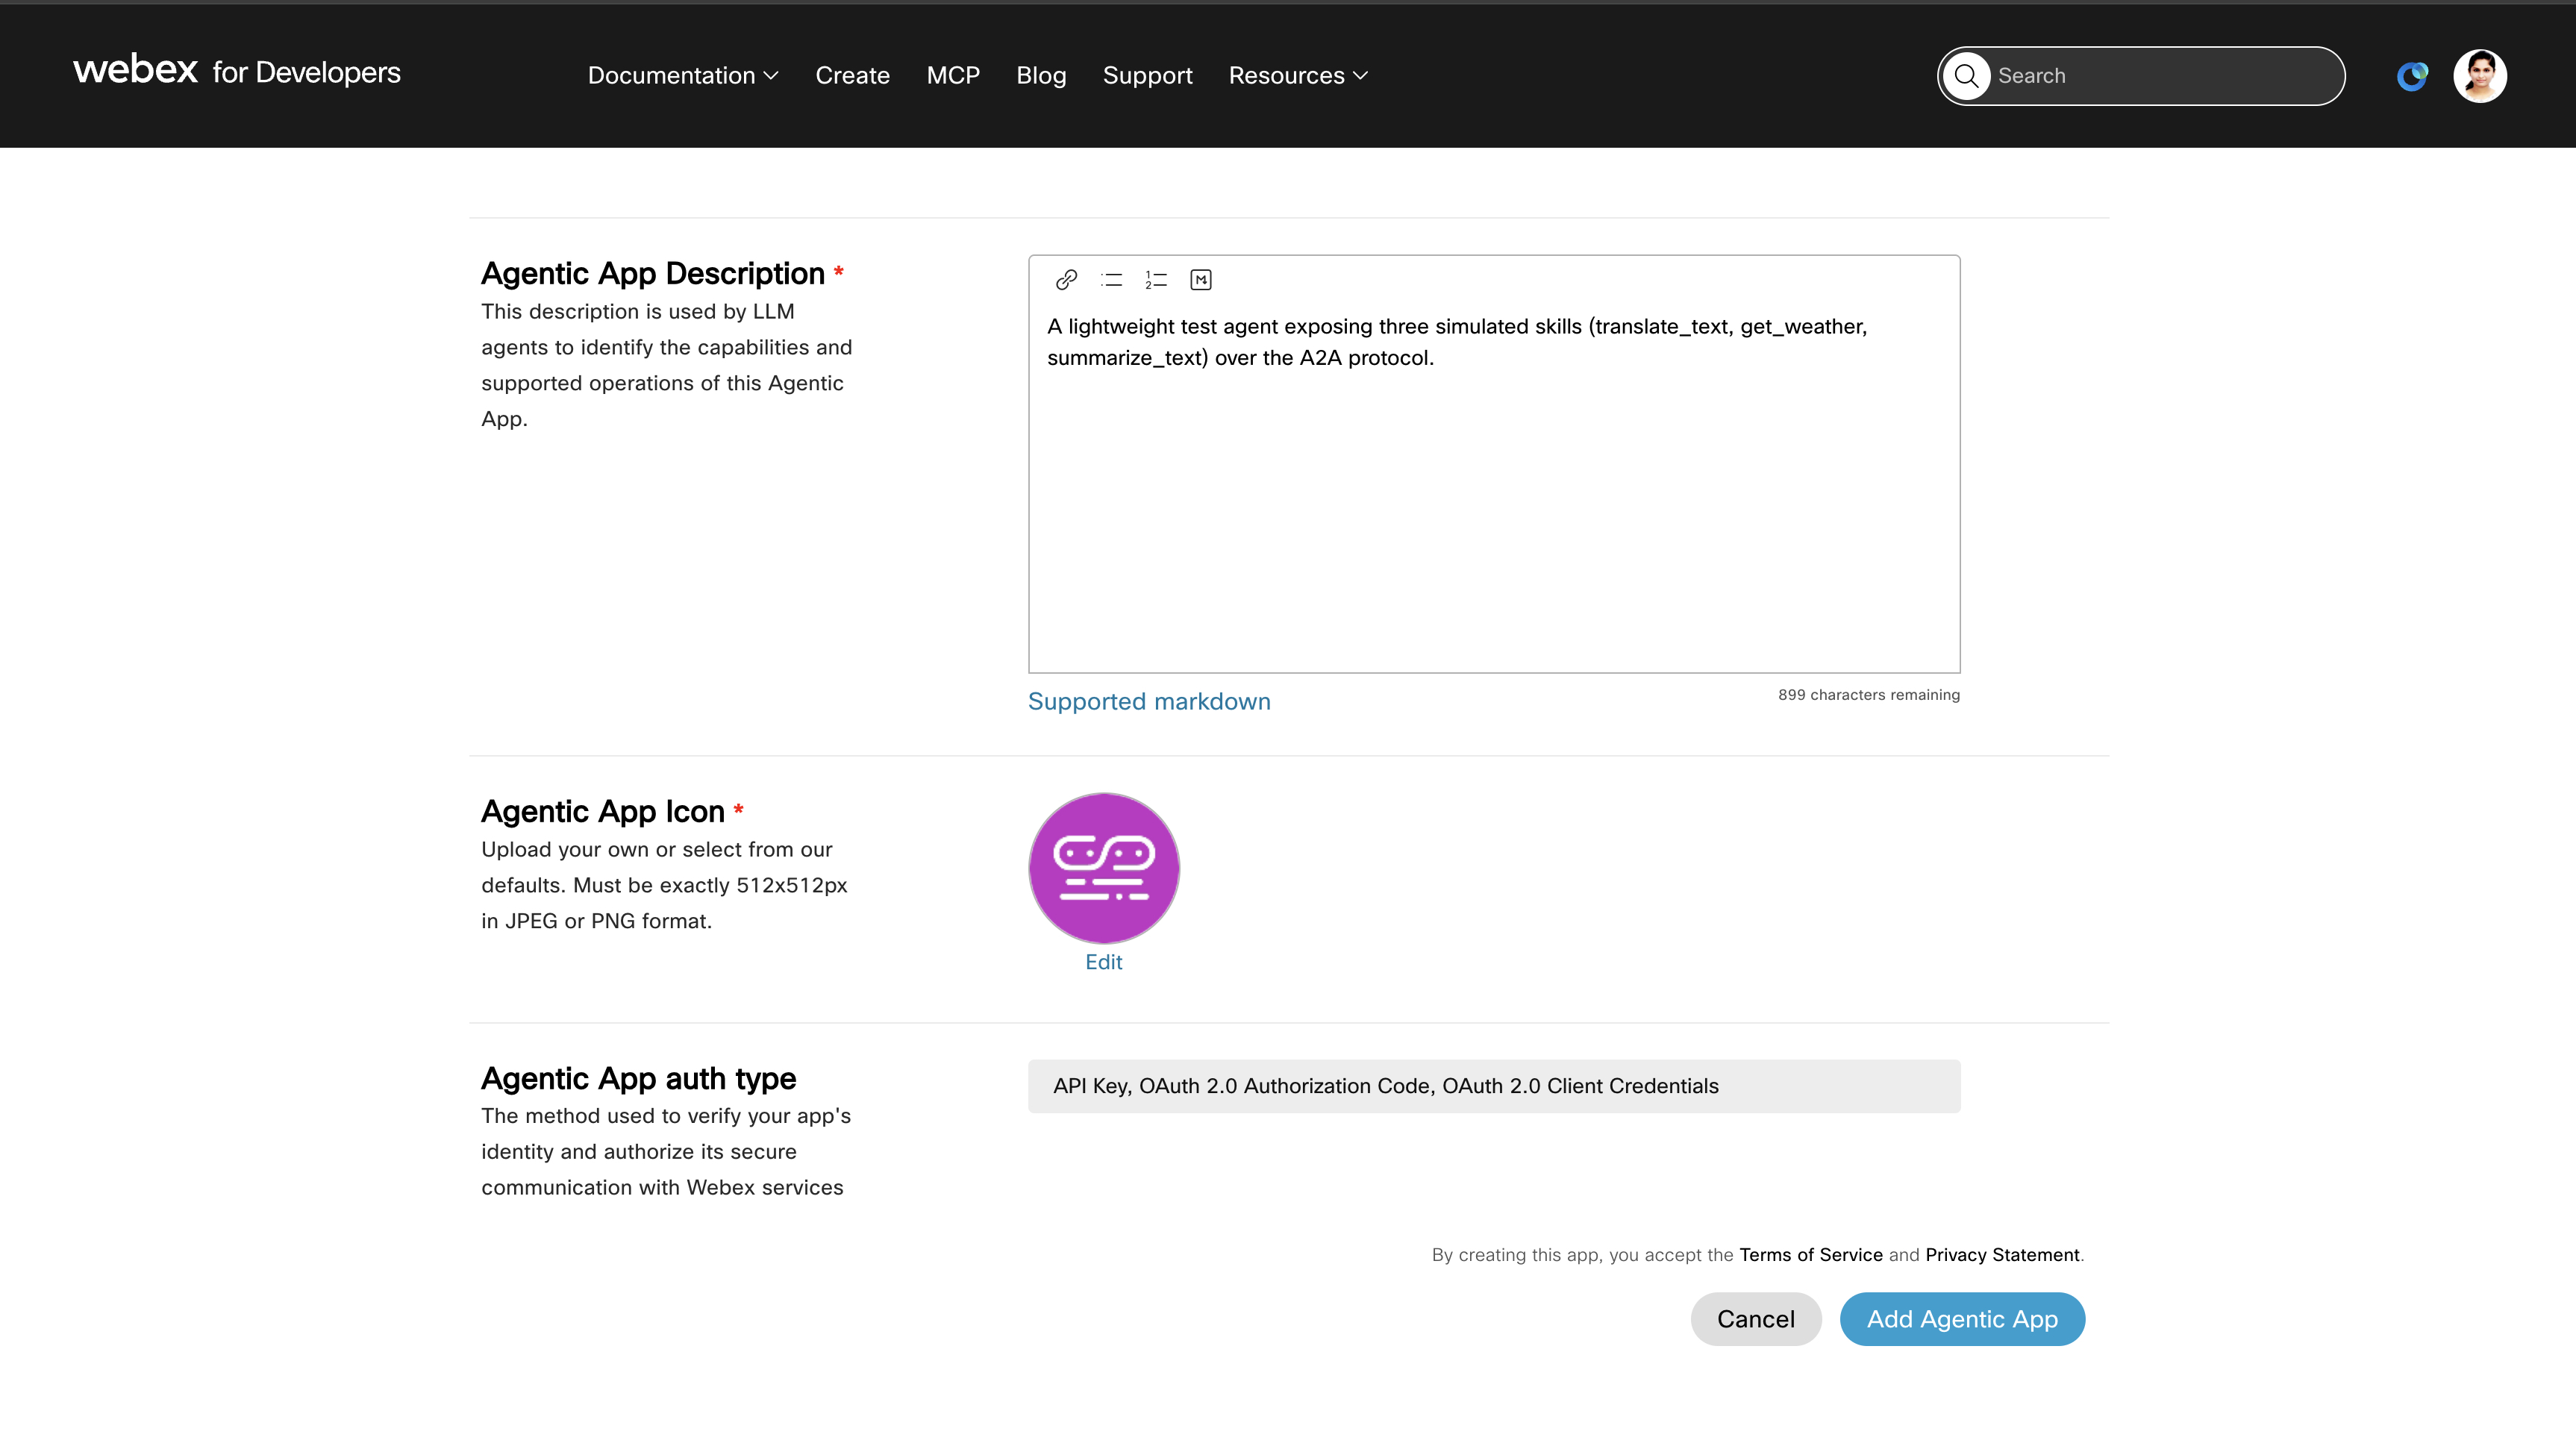
6. Complete Remaining Fields
- Name: Review the pre-populated name or enter a unique name for your app. The name must be unique across all registered agentic apps.
- Description: Review or update the description.
- Logo: Upload a 512x512 PNG/JPEG or select from the default options.
7. Click Add Agentic App
After completing all fields, click the Add Agentic App button. The system registers your app and redirects you to the details page.
anchorManaging Your A2A Agentic App
anchorFrom the details page, you can:
- View app ID and configuration.
- Edit name, description, and logo.
- View transport type and auth type (read-only, sourced from the Agent Card).
- Submit a request to make the app public on the Webex App Hub.
- Request admin approval for org/user level use.
- Delete the app.
Note: Transport type and auth type cannot be edited for A2A apps — they are managed by the Agent Card at your server's well-known URL. Server URL is also non-editable after registration since it drives the Agent Card discovery.
anchorTroubleshooting
anchor| Error | Cause | Solution |
|---|---|---|
| "This A2A server is not supported" | Agent Card missing required fields, no supported interface (1.x), or no mappable security scheme | Verify your Agent Card conforms to the A2A 1.x spec and includes at least one supported interface and security scheme |
| "Could not fetch Agent Card from the A2A server" | Server unreachable, DNS failure, timeout, or HTTP error | Verify the server is running, reachable over HTTPS, and serves the Agent Card at /.well-known/agent-card.json |
| "serverUrl must be a base URL with no path segments" | URL contains path segments (e.g., /api/v1) | Provide only the base URL (e.g., https://agent.example.com) |
anchorResources
anchor- A2A Protocol Specification — The official A2A protocol documentation.
- Agentic Overview — Overview of agentic capabilities on the Webex platform.