New Webex SDK Updates & Advanced Meeting Demo
November 13, 2020

Remote meetings and video conferencing have only become more critical in today’s world. Customers are now expecting to have video calls options in their banking, healthcare, and retail apps. With the uptick in demand, our engineers have been hard at work to make Webex extensibility even more flexible. As part of that, there’s been a lot of recent updates to our SDKs for developers to quickly customize and embed video conferencing or messaging in their own applications. Most of these changes happened under the covers, with various bug fixes and optimizations to the user experience.
Some of the new enhancements can be found in the meetings plugin demo of the Webex Browser (JS) SDK. To help get you get hands-on right away, we released a wonderful demo application, which allows you to test all of the advanced actions in Webex Meetings and familiarize yourself with the corresponding methods that are used in the meetings plugin for the JS SDK. Let’s do a brief walkthrough of how the demo works and highlight some of the features you can test.
First, to initialize the demo, in the “Authentication” section you’ll need to input your Webex access token under “Credentials”, which you can copy from the Getting Started documentation on the Webex for Developer portal (note this token is not long lasting, and will expire in 12 hours; it is only for testing purposes). Once the access token is entered, click the webex.init() button. As you can see, the buttons are all labeled by the method used in the meeting plugin of the SDK. In this method (to authenticate the access token), webex is the object and init() is the function.
Once it’s authenticated, it then must be registered as a device, which is done by clicking the webex.meetings.register() button. You should see the status change from “Not Registered” to “Registered”. The demo is now initialized, and the SDK functionality is available to test.

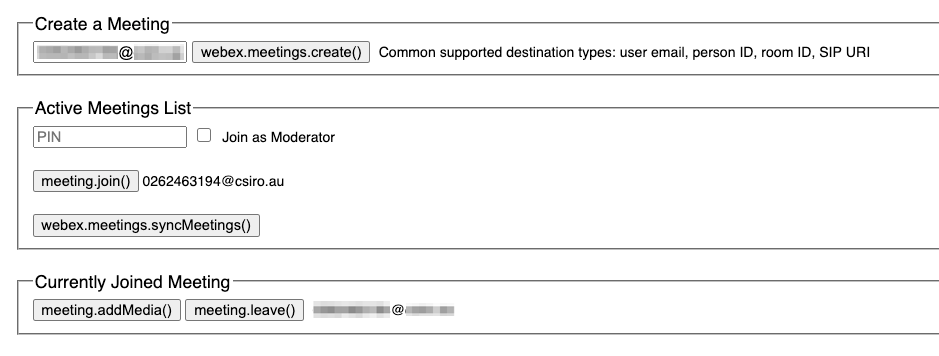
Next, under the "Meetings Management" section, either you will search for an existing or you will create a new meeting. So you shall start with the webex.meetings.syncMeetings() button to list all of your currently active meetings.
If your meeting already exists, from the active list, click the meeting.join() button next to the meeting you want to enter. You will now see your meeting destination appear under the “Currently Joined Meeting”. The PIN may be required if you are targeting a Webex scheduled meetings.
If you prefer to create a new meeting, the simplest way, especially if you’re testing by yourself, is to use an auto-answer endpoint that sends video and audio of which you enter the address as the "Destination". For this test, we used one of the many publicly available (auto-answer) test endpoints, which sends video, audio, and screen sharing streams. Once you enter the destination, click the webex.meetings.create() button to activate the meeting. Once you created the meeting, it will show in the “Active Meetings List” and you can register for all events on the meeting object. And then you can join with meeting.join(). Your meeting destination will appear in the “Currently Joined Meeting” section.

Now that you joined the meeting, let's get the media from your computer devices. Scroll down to the “Meeting Controls” section. Under “Get Media Devices”, you shall use meeting.getDevices() button to invoke the browser to list all of the available devices (mics, camera, etc) that are available to use. meeting.getMediaStreams() executes and gives back a local live stream from selected devices (audio, video, share). It will prompt for permission to your microphone and camera the first time you run this demo. Then you will see your local streams all the way down the demo page where each media stream is represented in its own box.
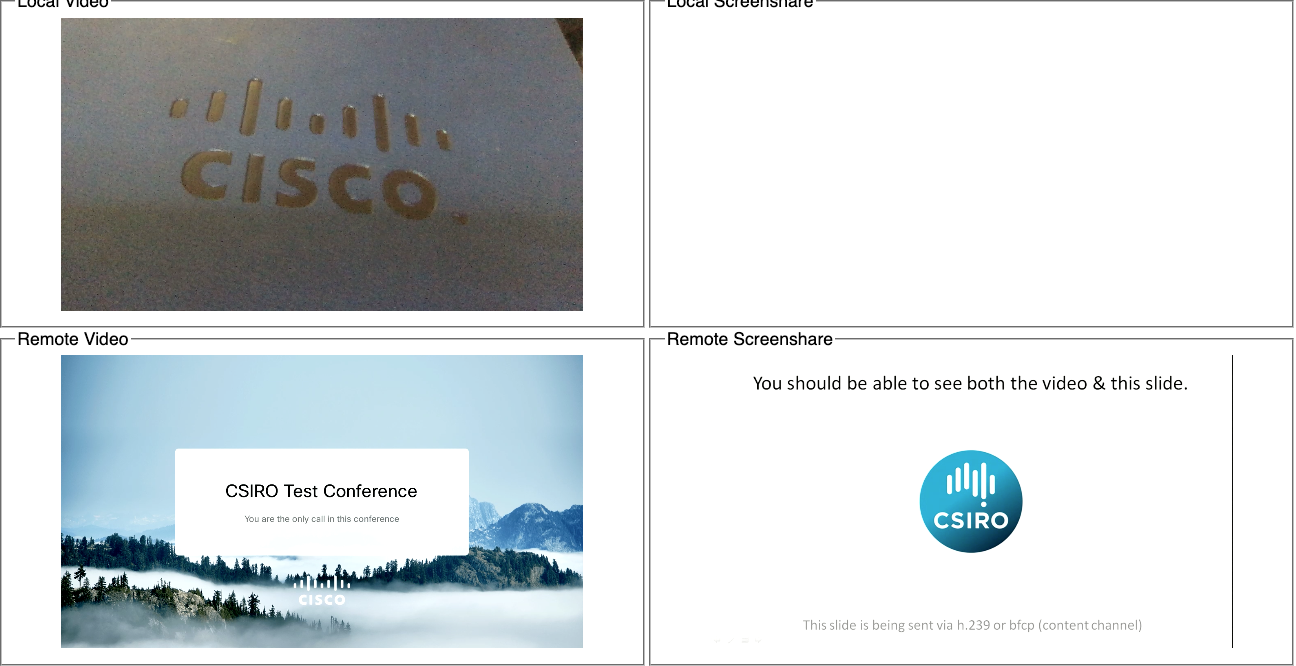
Last but not least, let’s add media streams from your local machine to the meeting. Scroll up, meeting.addMedia() in the "Meetings Management" section specifies that you need to send and/or receive media from the meeting. It should be always the last step. From there, you can confirm you are receiving the remote streams properly by checking at the very end of the page. You will find the main video and the screensharing, remote and local.

To highlight some of other features you can test, scroll down a little further in the “Meetings Control” section, under “Participants”. Click the meeting.members.membersCollection button, which represents the method to list all of the participants that joined the meeting, along with their userID. You can also manage or mute each participant individually here, with the action buttons to the left of each userID. The meeting.admit() button is used to allow a user that is waiting in the meeting lobby to enter the meeting.

A new SDK feature that is now available to test on this demo is the ability to set the meeting quality to a fixed value. Just above “Participants”, under “Toggling Sources”, there is dropdown setting for “LOW”, “MEDIUM”, and “HIGH”. Once you select the quality type, you can either apply it the local video, remote video, or to the entire meeting with the respective action buttons.
There are several other features and actions that can be tested in this demo and we encourage you to try them all. Beyond what you see in the demo, there are a few other new enhancements to the Webex SDKs that are worth mentioning.
Meeting Participant Grid View

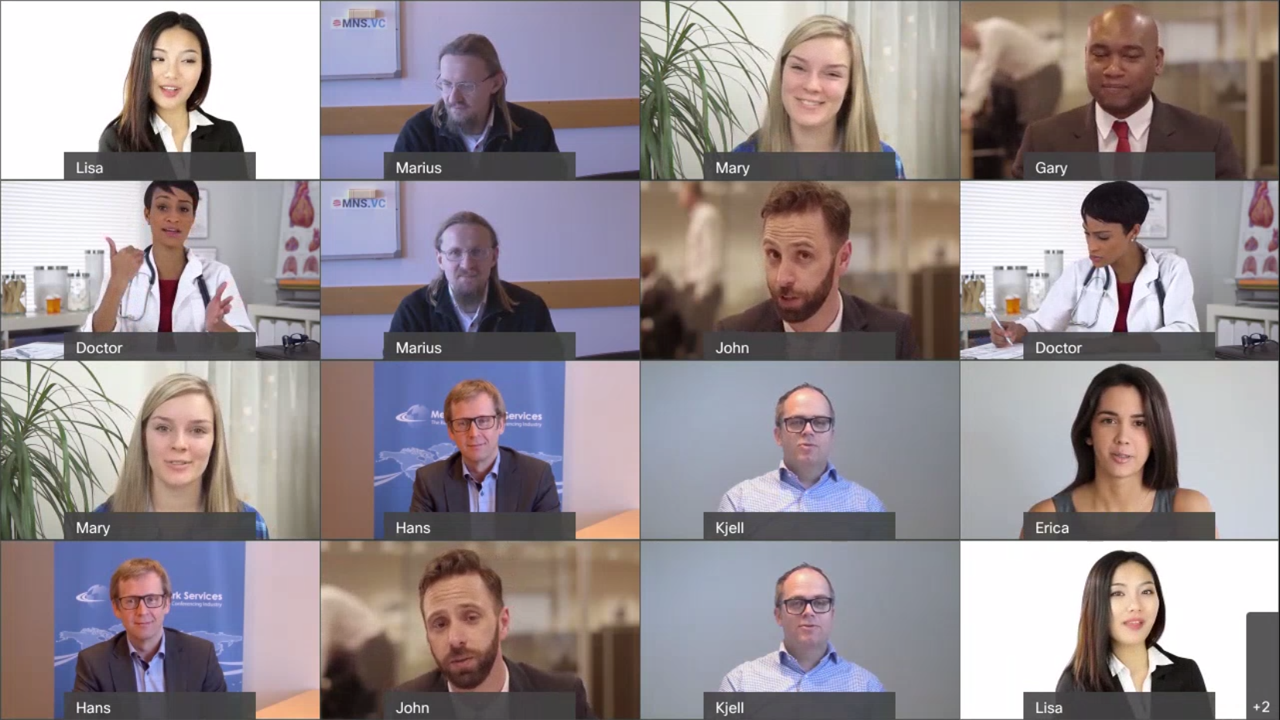
The first major enhancement is the ability to set a “participant grid view”, for different screen layouts of each meeting participant, in the iOS, Android, and Browser SDKs. By using the meeting.changeVideoLayout(layoutType) method, the “layoutType” can be set to one the following values:
'Single' (Only the active speaker is shown in one window)
'Equal' (Up to 25 video attendees are shown in equally sized windows)
'ActivePresence' (The active speaker in shown in one window, with up to 9 participants in thumbnails overlaid on the active speaker window)
'Prominent' (The active speaker is shown in one window with up to 9 participants in thumbnails below the active speaker window)
'OnePlusN' (The active speaker, the largest video, and a maximum of 12 video attendees are shown, which dynamically adapts to the meeting size as more attendees join)
Automatic Meeting Reconnect (JS SDK)
Another new enhancement now available in the Webex JavaScript SDK is the option for applications to automatically reconnect participants that were prematurely disconnected from a meeting (for example, due to network instability) and continue to retry as needed. At this time, the feature is disabled by default. To enable it, you’ll need the latest JavaScript SDK version and pass the following to meeting config in your app:
config reconnection: {enabled:true}
New Changelog (JS SDK)
We also recently introduced a changelog for each version of the JavaScript SDK, where you can keep up with all the new enhancements and fixes.
Just remember, if you get stuck or spot something that looks like it may not be working correctly, contact the Webex Developer Support team, who are always eager to assist 24/7.
For product feedback and queries, we will be more than happy to hear from you on Webex:
Phil Bellanti - Product Manager - Webex innovations
Olivier Proffit - Product Manager - Webex SDK and integration